
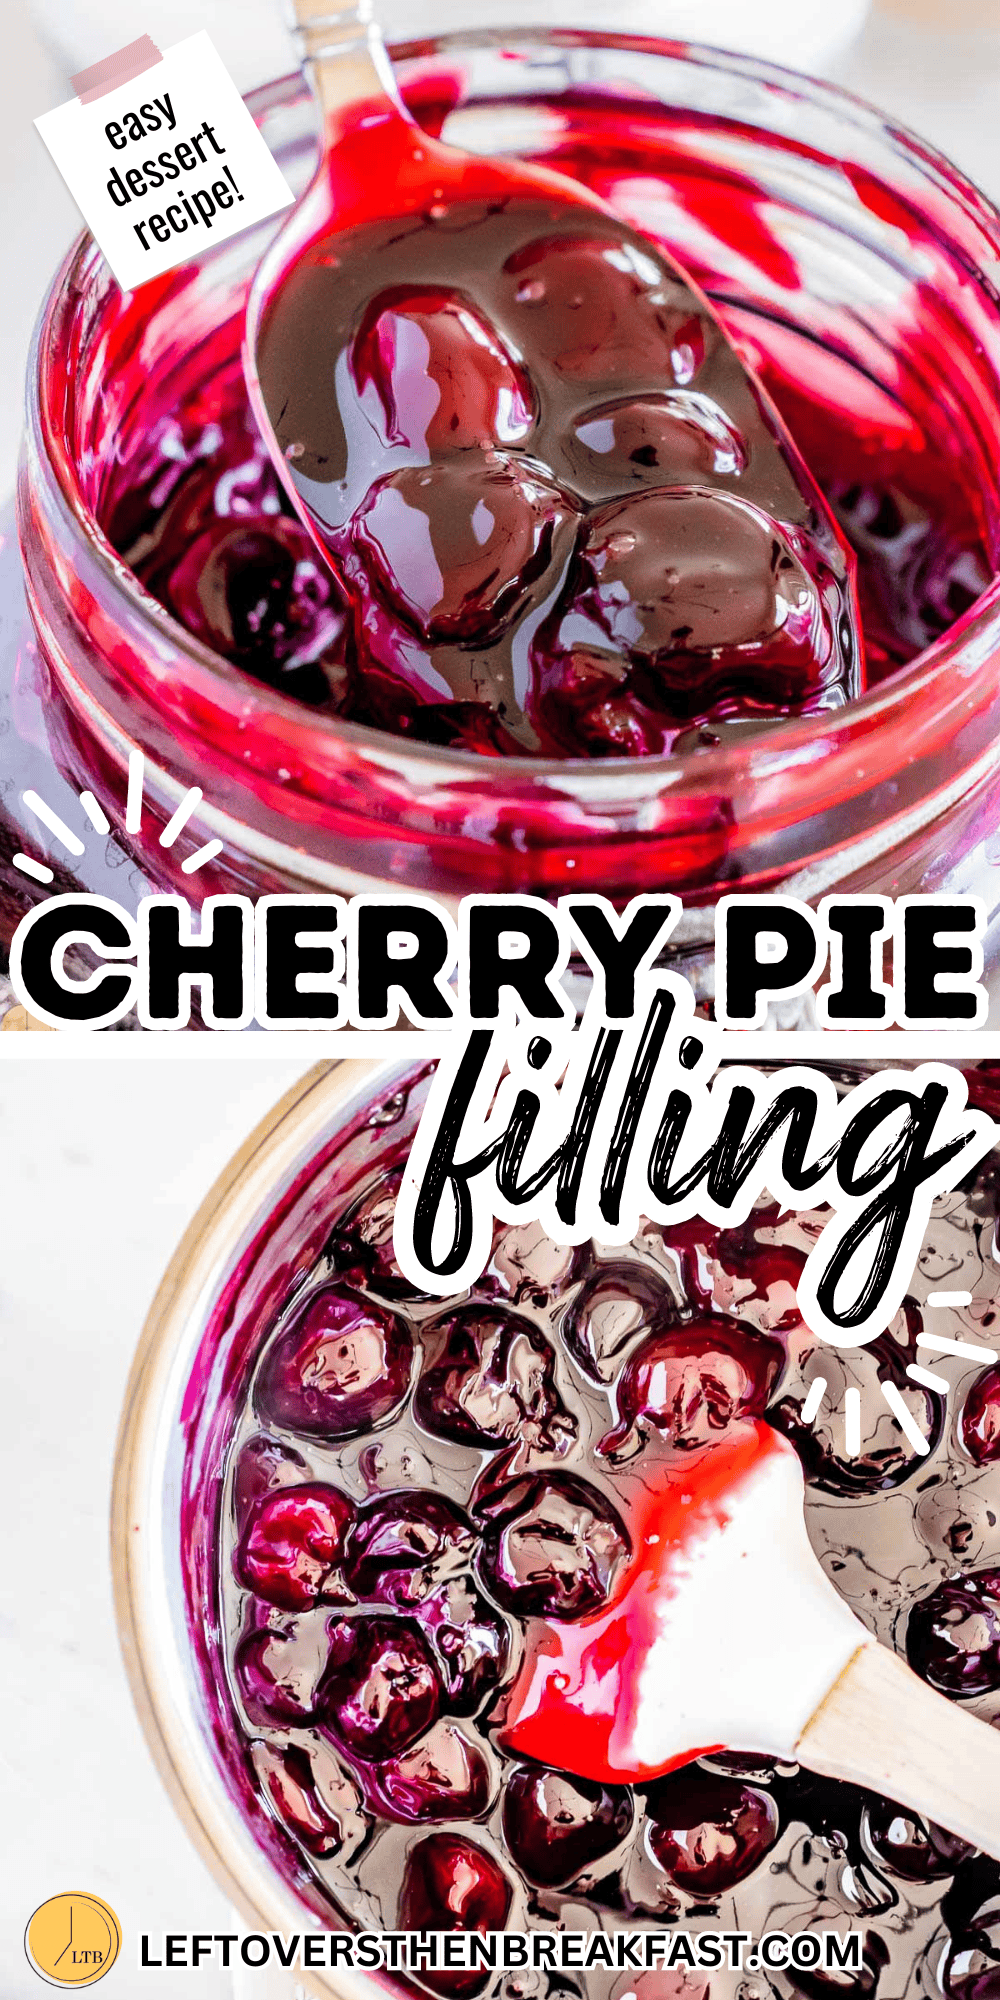
Homemade Cherry Pie Filling
Cherry Pie Filling is sweet, tart, silky, and the perfect addition to so many desserts! Make it at home in less than 20 minutes and skip the store bought canned pie filling for good!
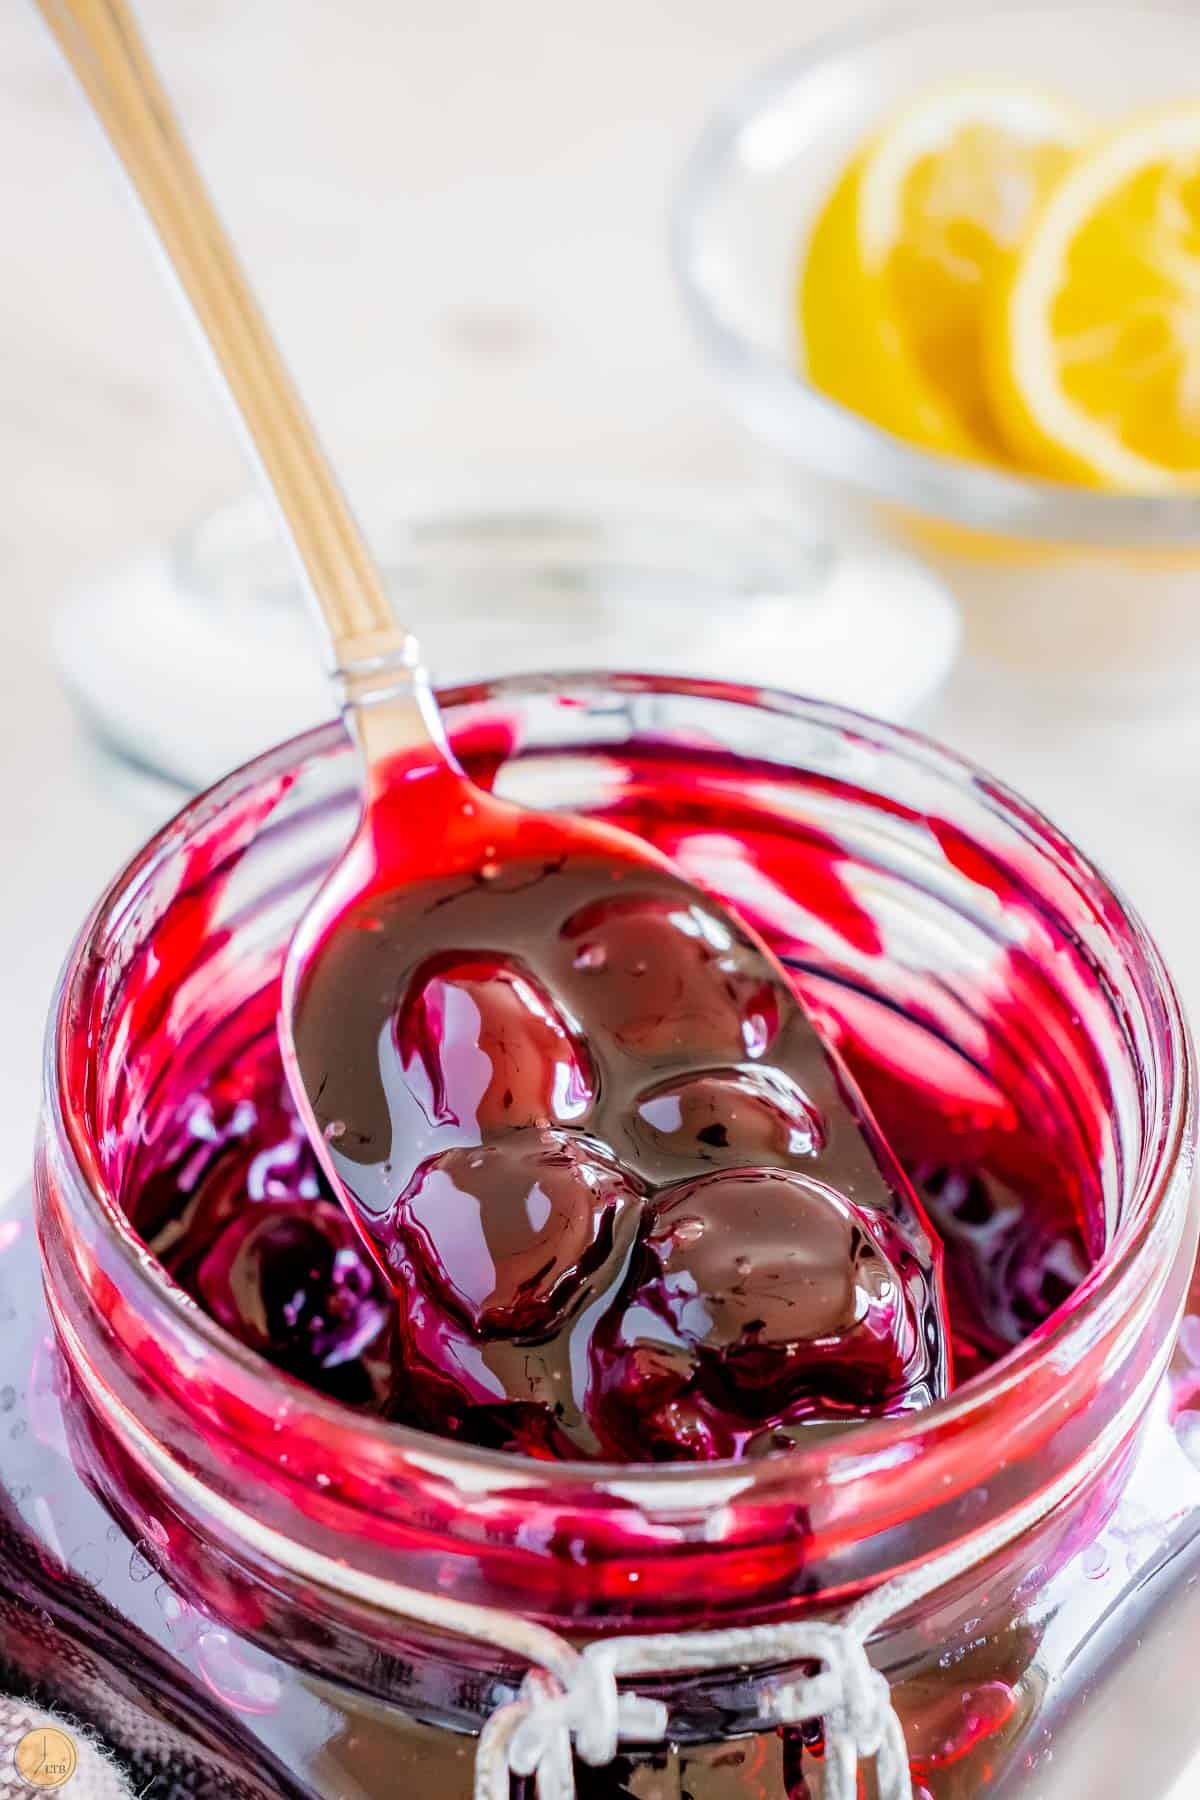
Cherry Pie Filling Recipe
You don’t need the summer months to enjoy the taste of cherries. I eat them all year round, even though they are only in season May – July. Thank goodness for frozen cherries at the store, right?
I could eat my weight in fresh cherries, but my other favorite way to enjoy them is pie filling.
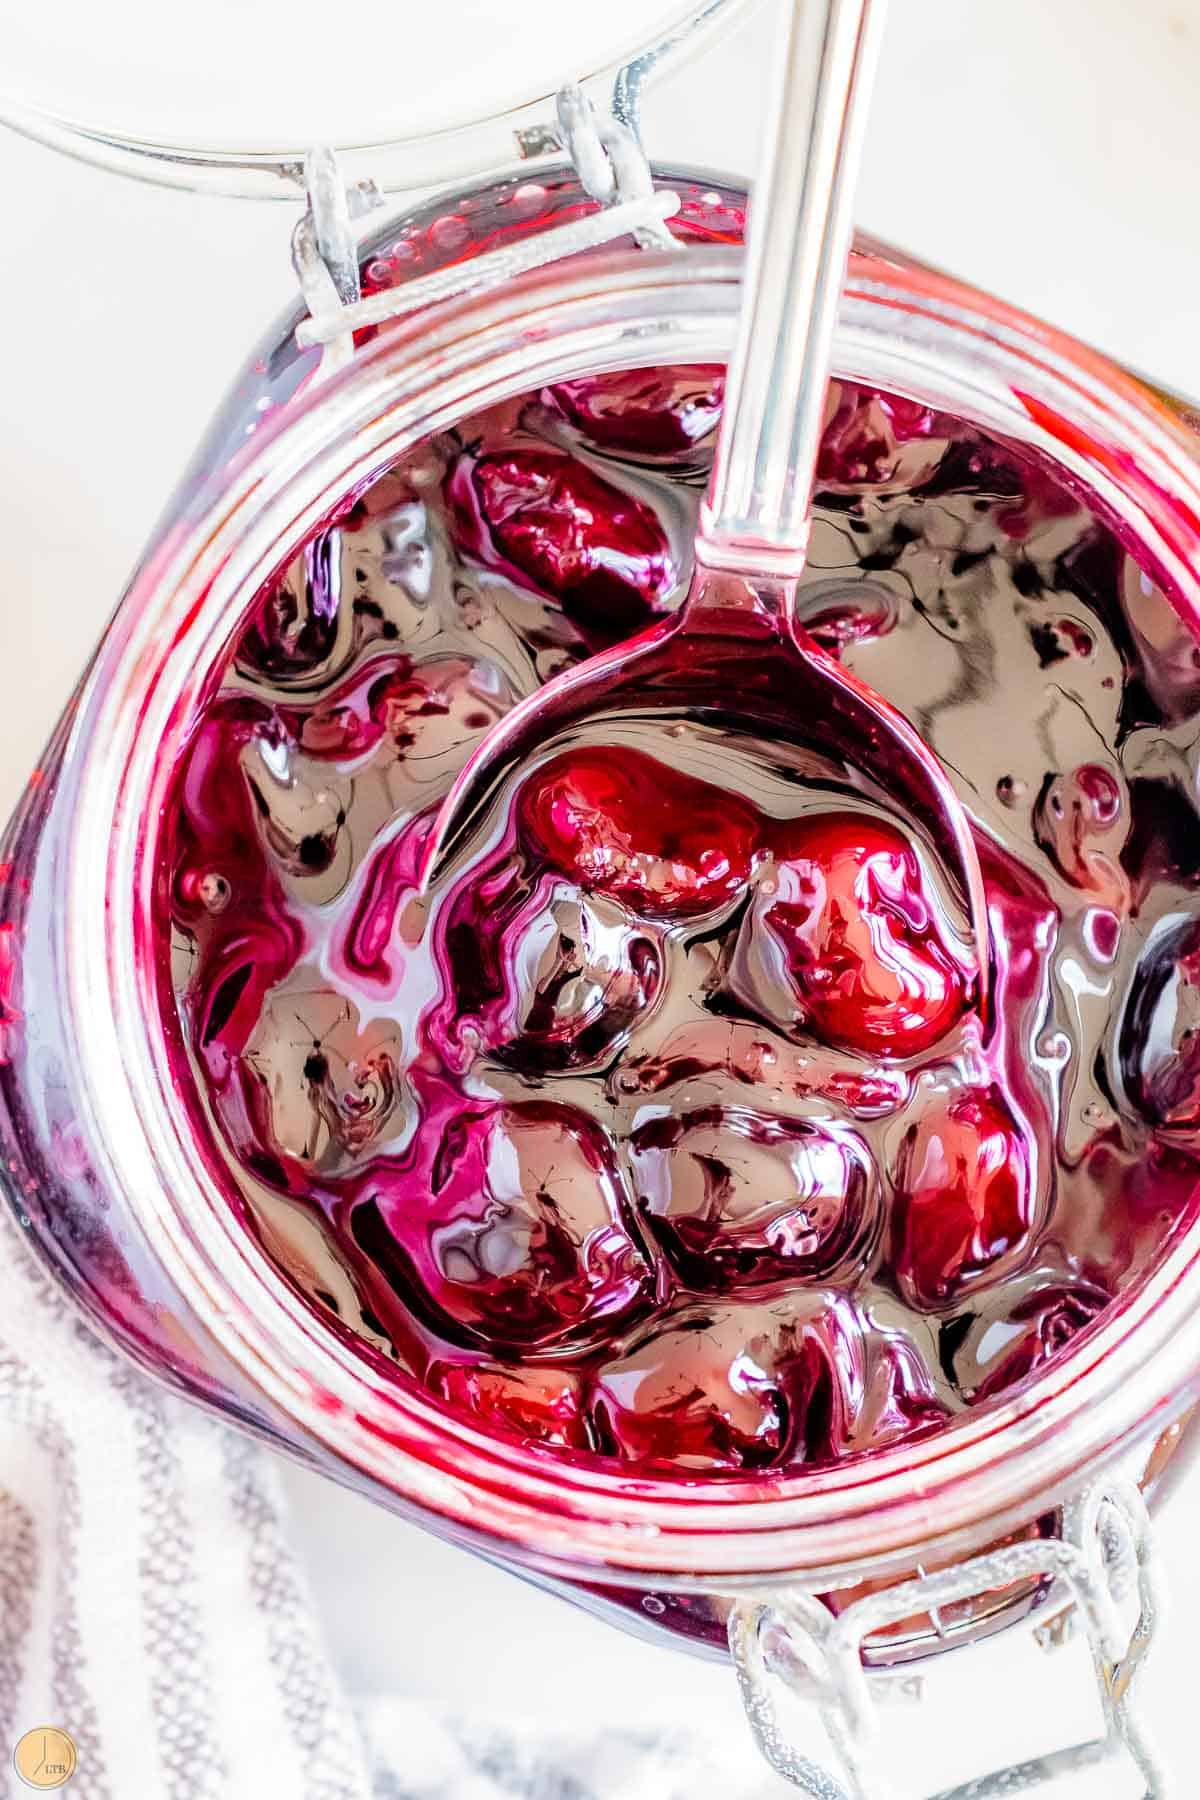
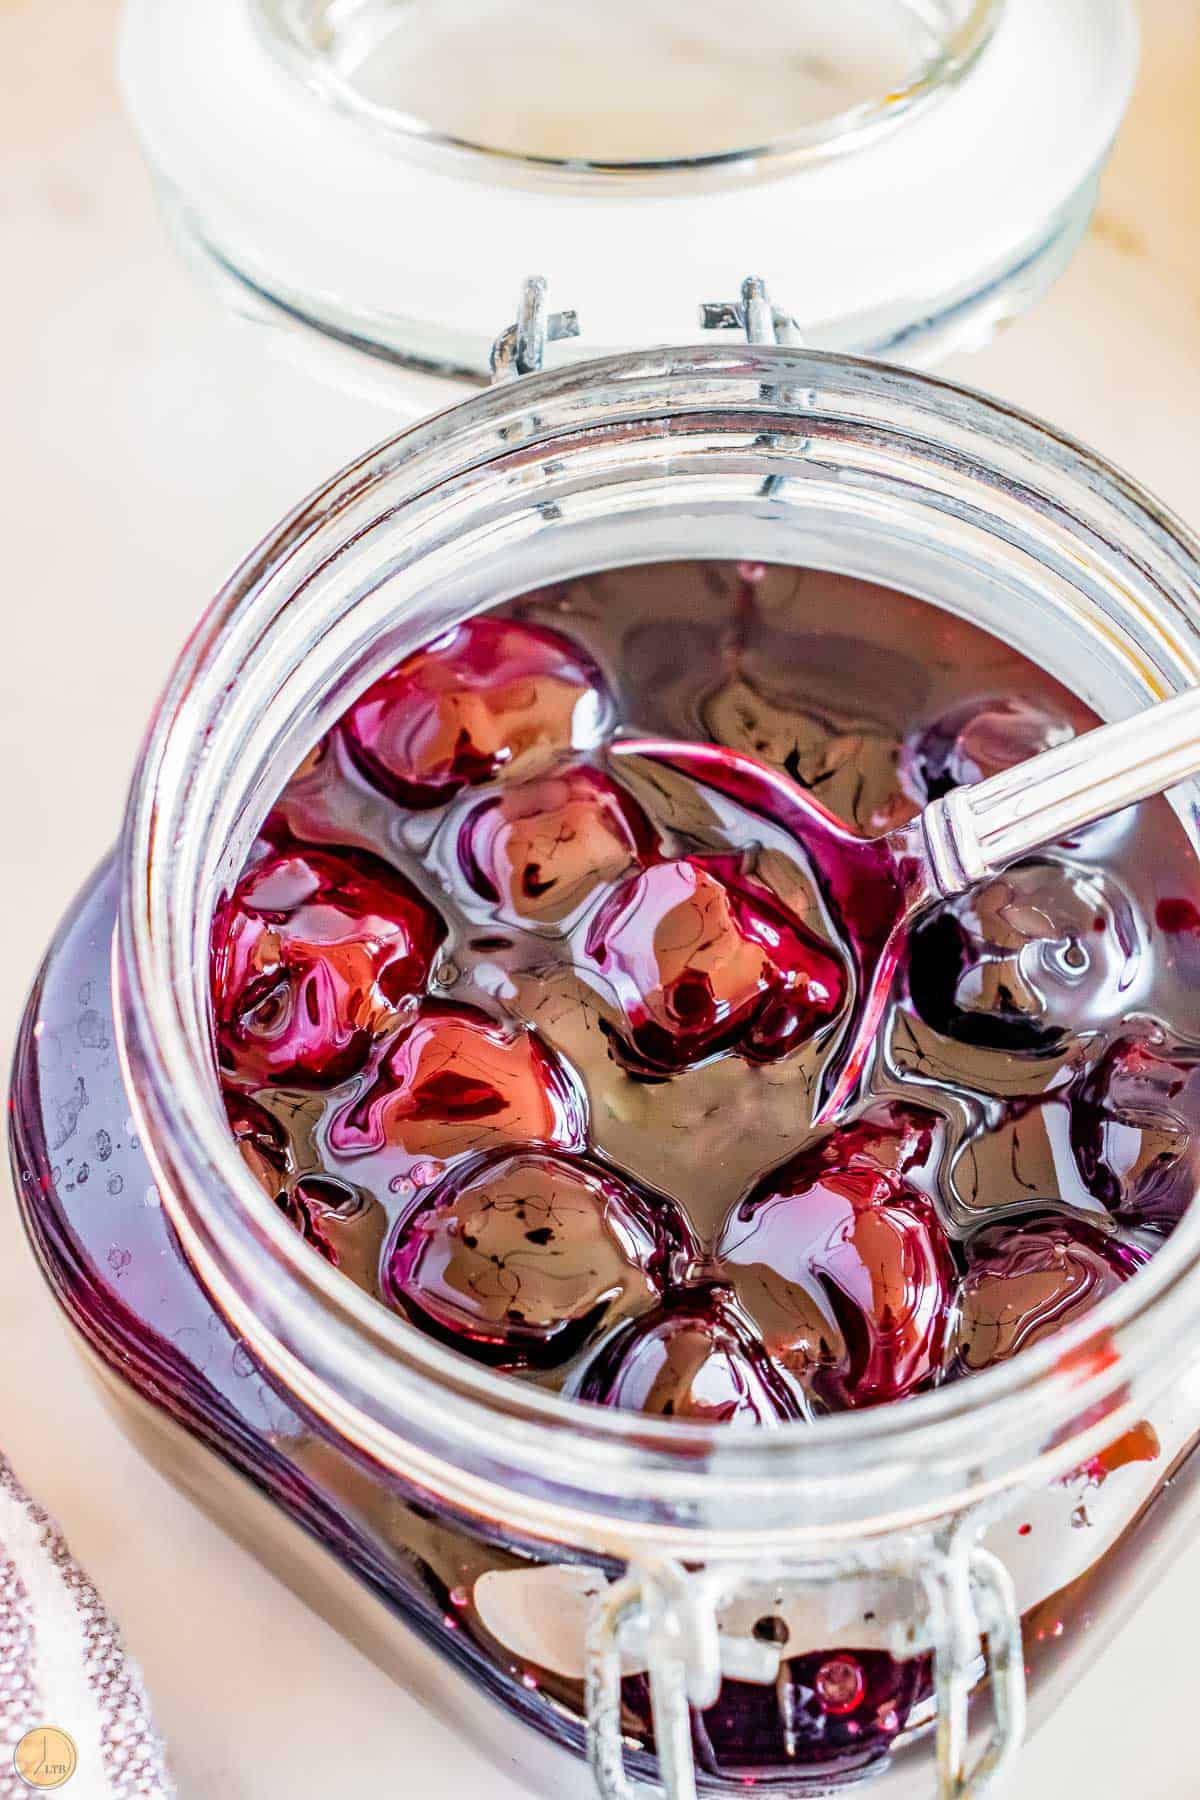
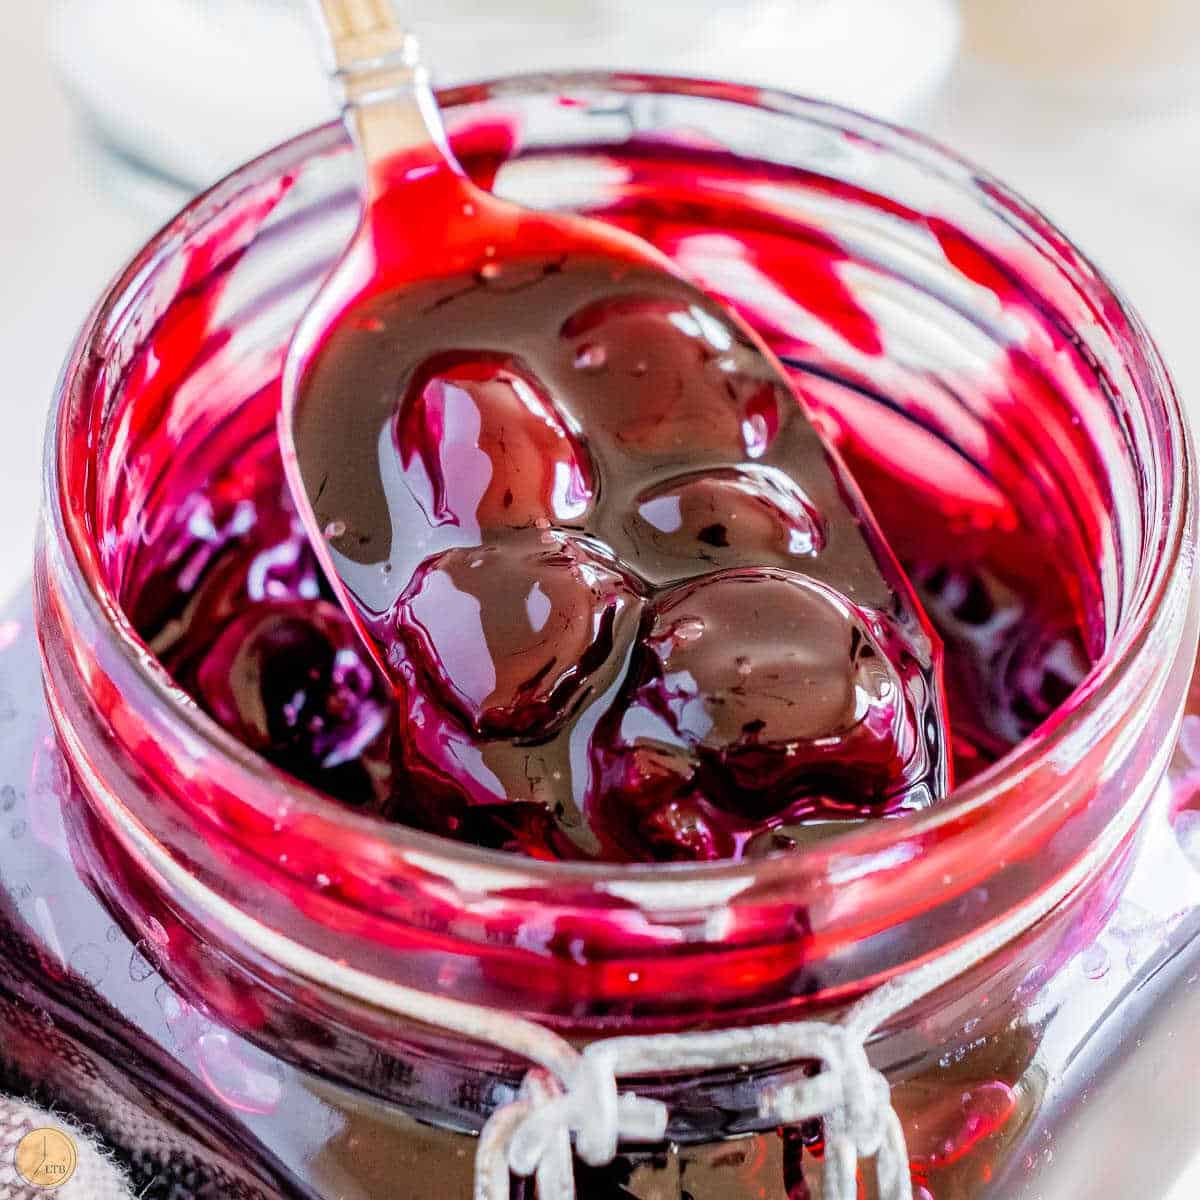
Simple ingredients coming together to make a delicious, thick filling that has so many uses.
When I don’t want to make a pie, I opt for cherry turnovers! Use the pie filling to top your pancakes. Or mix with cream cheese for a delicious cherry dip or in this cherries in the snow recipe.
However you like to enjoy the taste of cherries, skip the store and make your own cherry pie filling from scratch with this easy recipe.
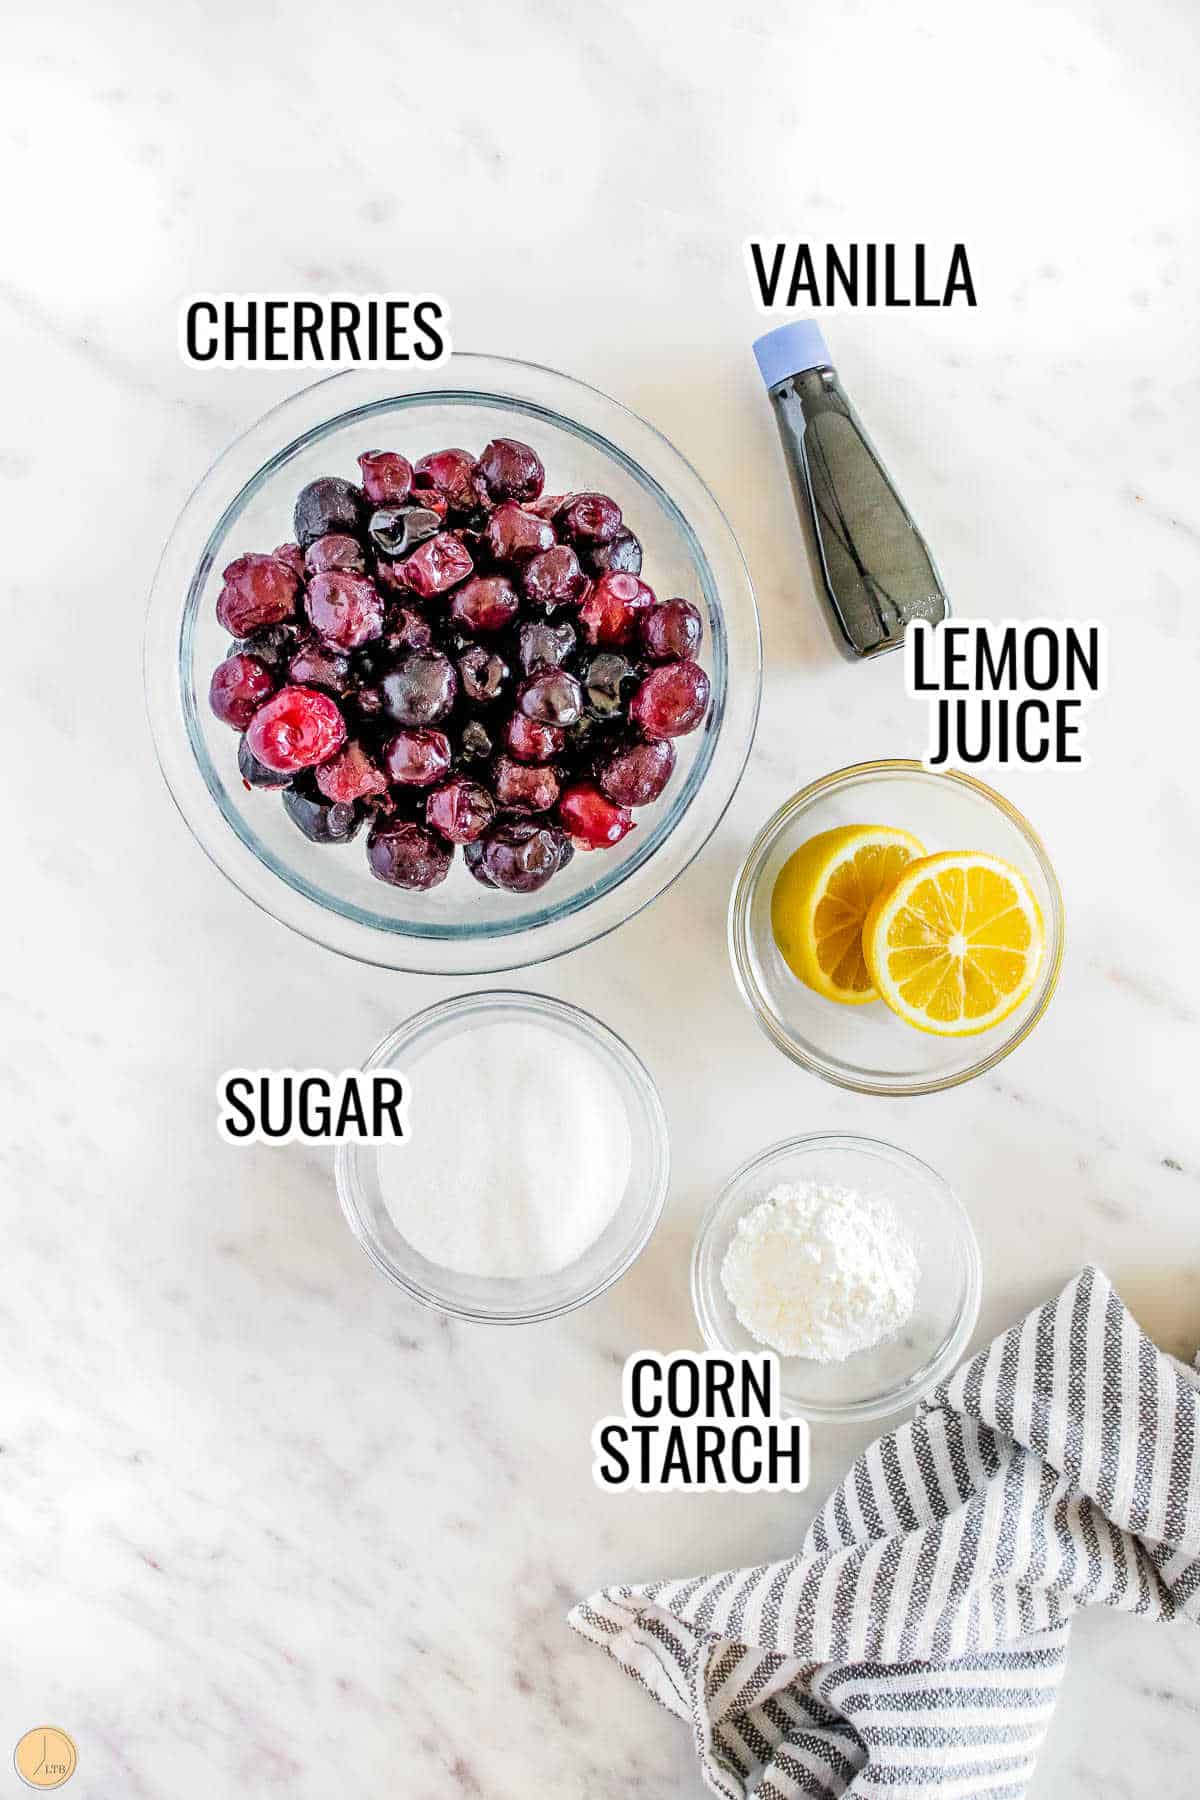
Ingredients Needed
Cherries – Fresh fruit is always best, but when not in season, frozen cherries work just fine.
Sugar – Substitute with honey if desired. Read recipe card for amounts.
Corn starch – Substitute arrowroot starch if needed.
Lemon juice – Use fresh lemon juice if possible. If not, add lemon zest.
Vanilla extract – Substitute almond extract for a different flavor profile.
Looking for more leftover worthy dishes? Follow LTB on Pinterest and pin to a board!
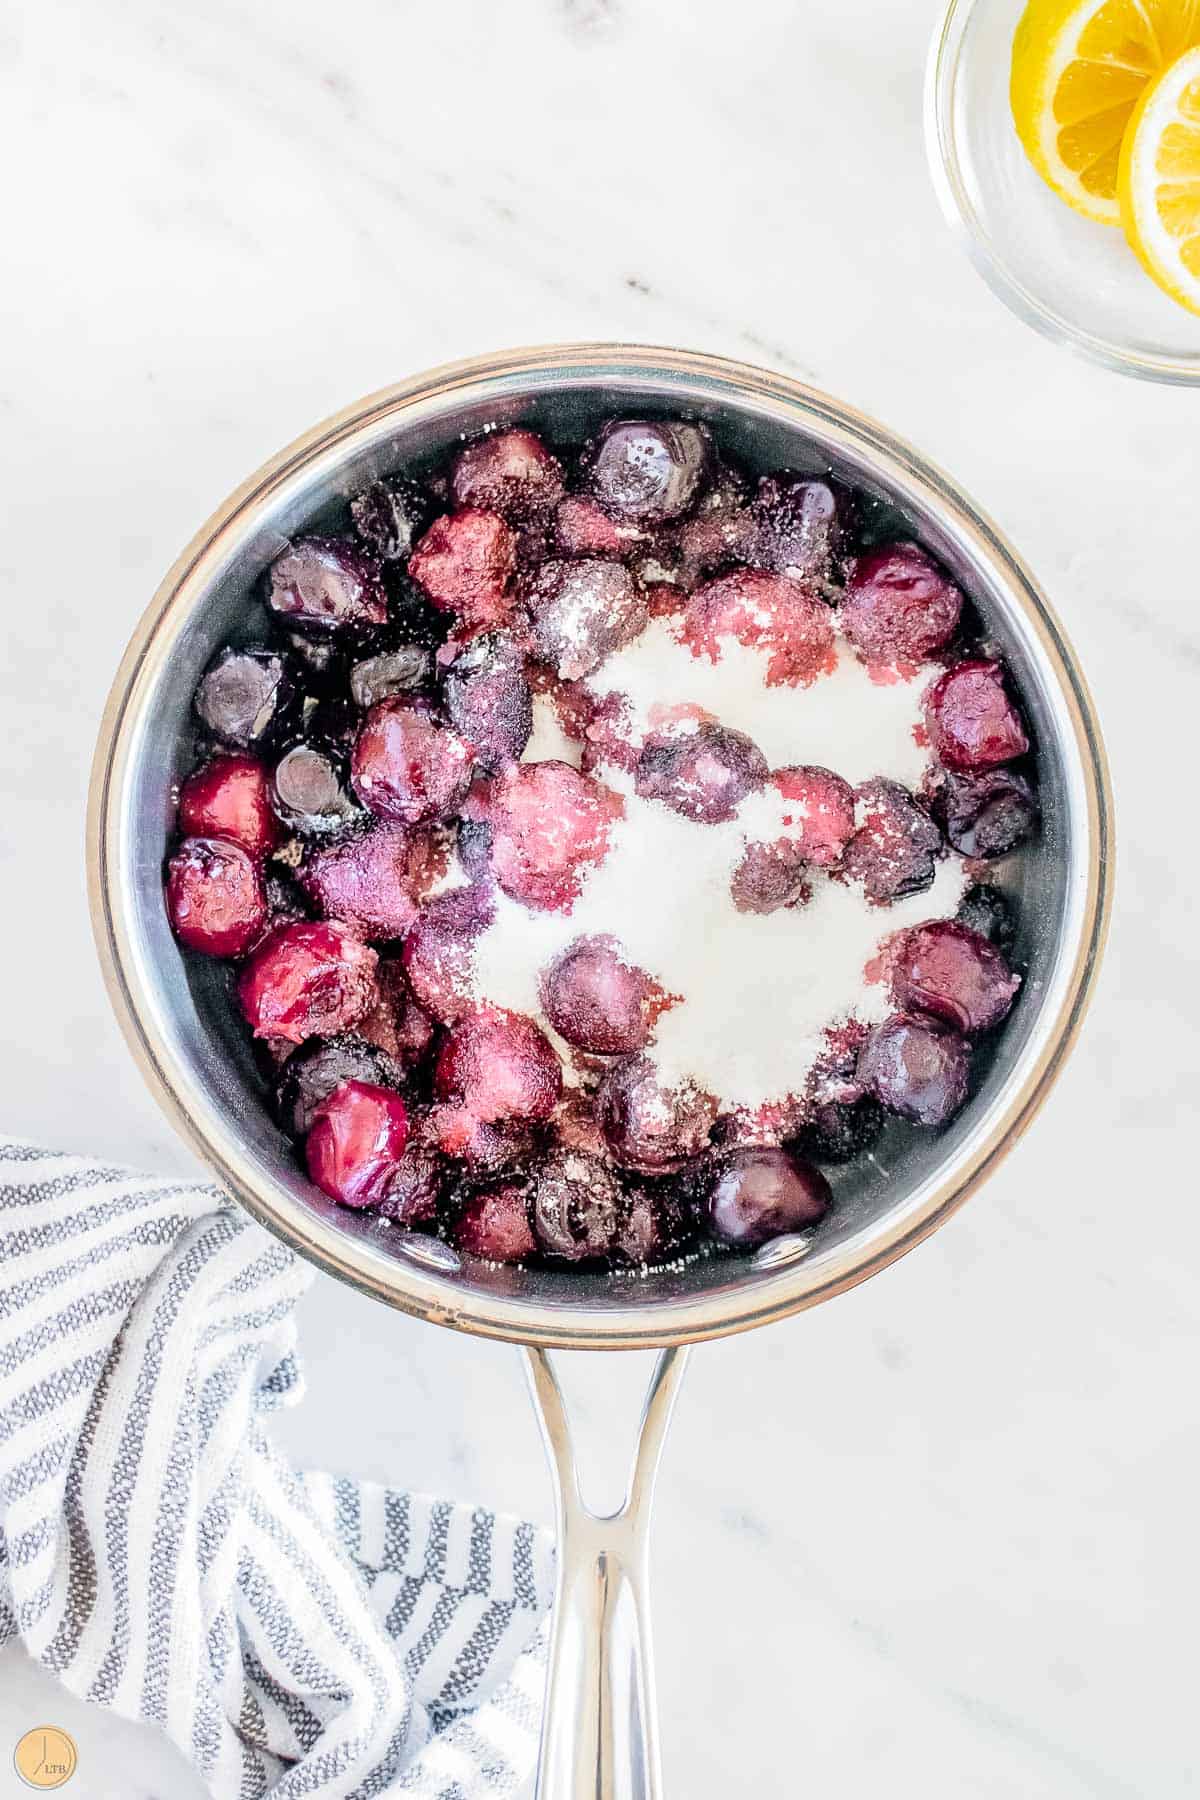
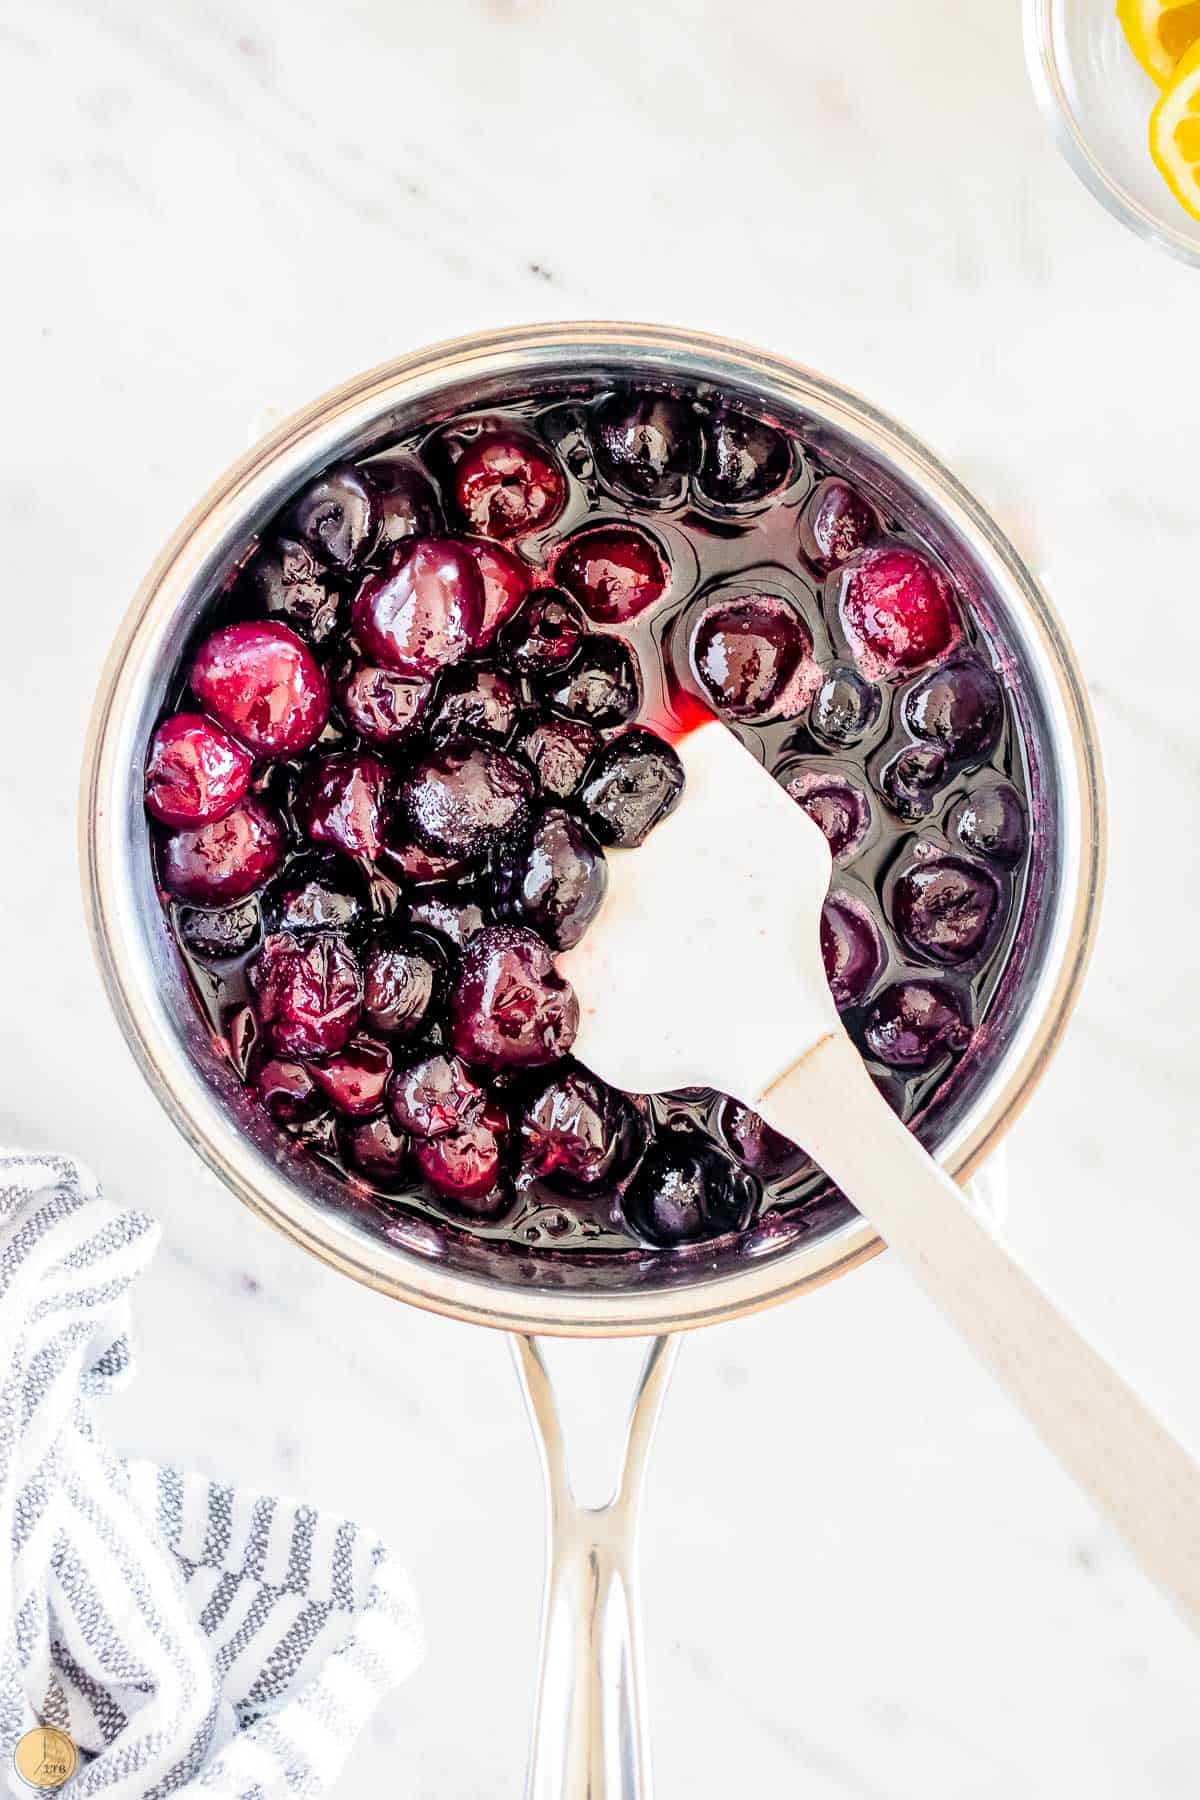
How to Make Homemade Cherry Pie Filling
First: Place cherries, lemon juice, cup of sugar, and cornstarch to a sauce pan over medium heat.
Second: Stir to combine and bring to a boil.
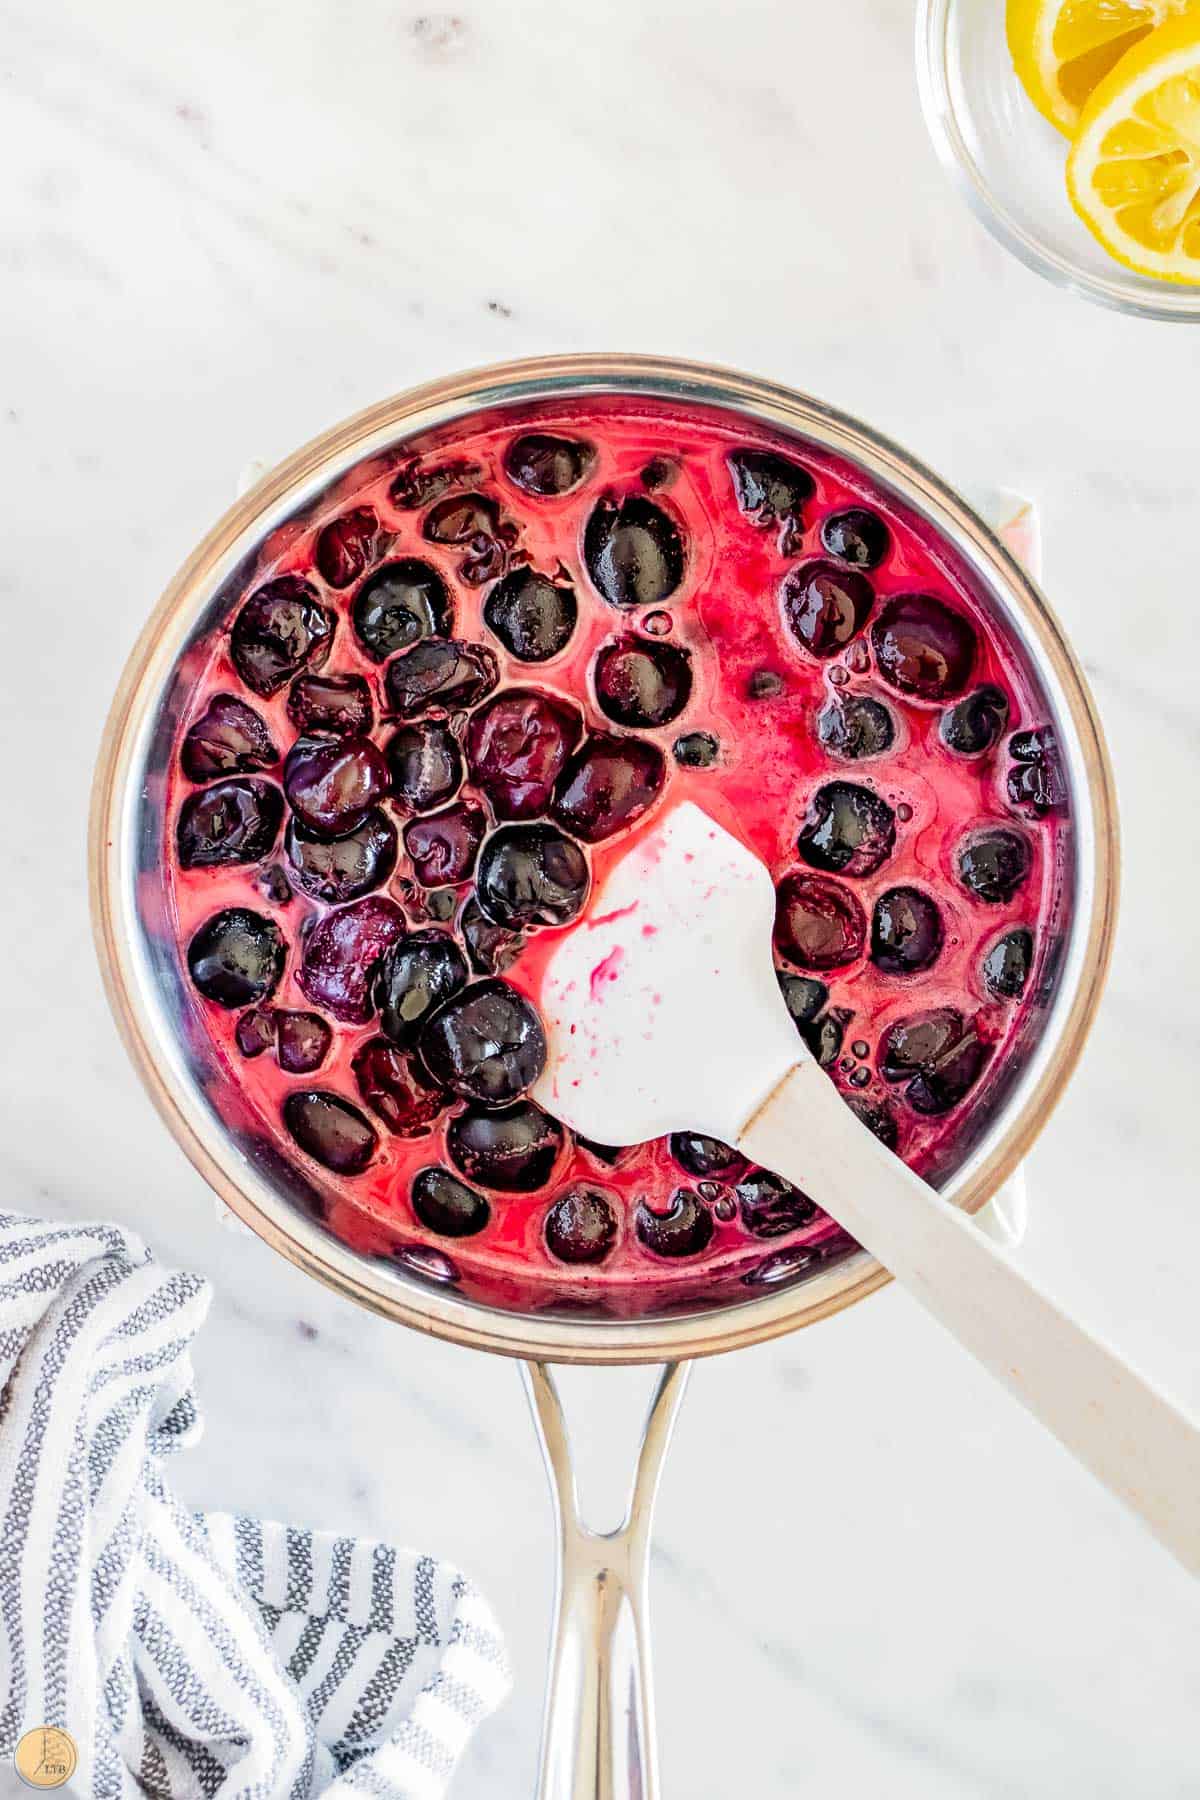
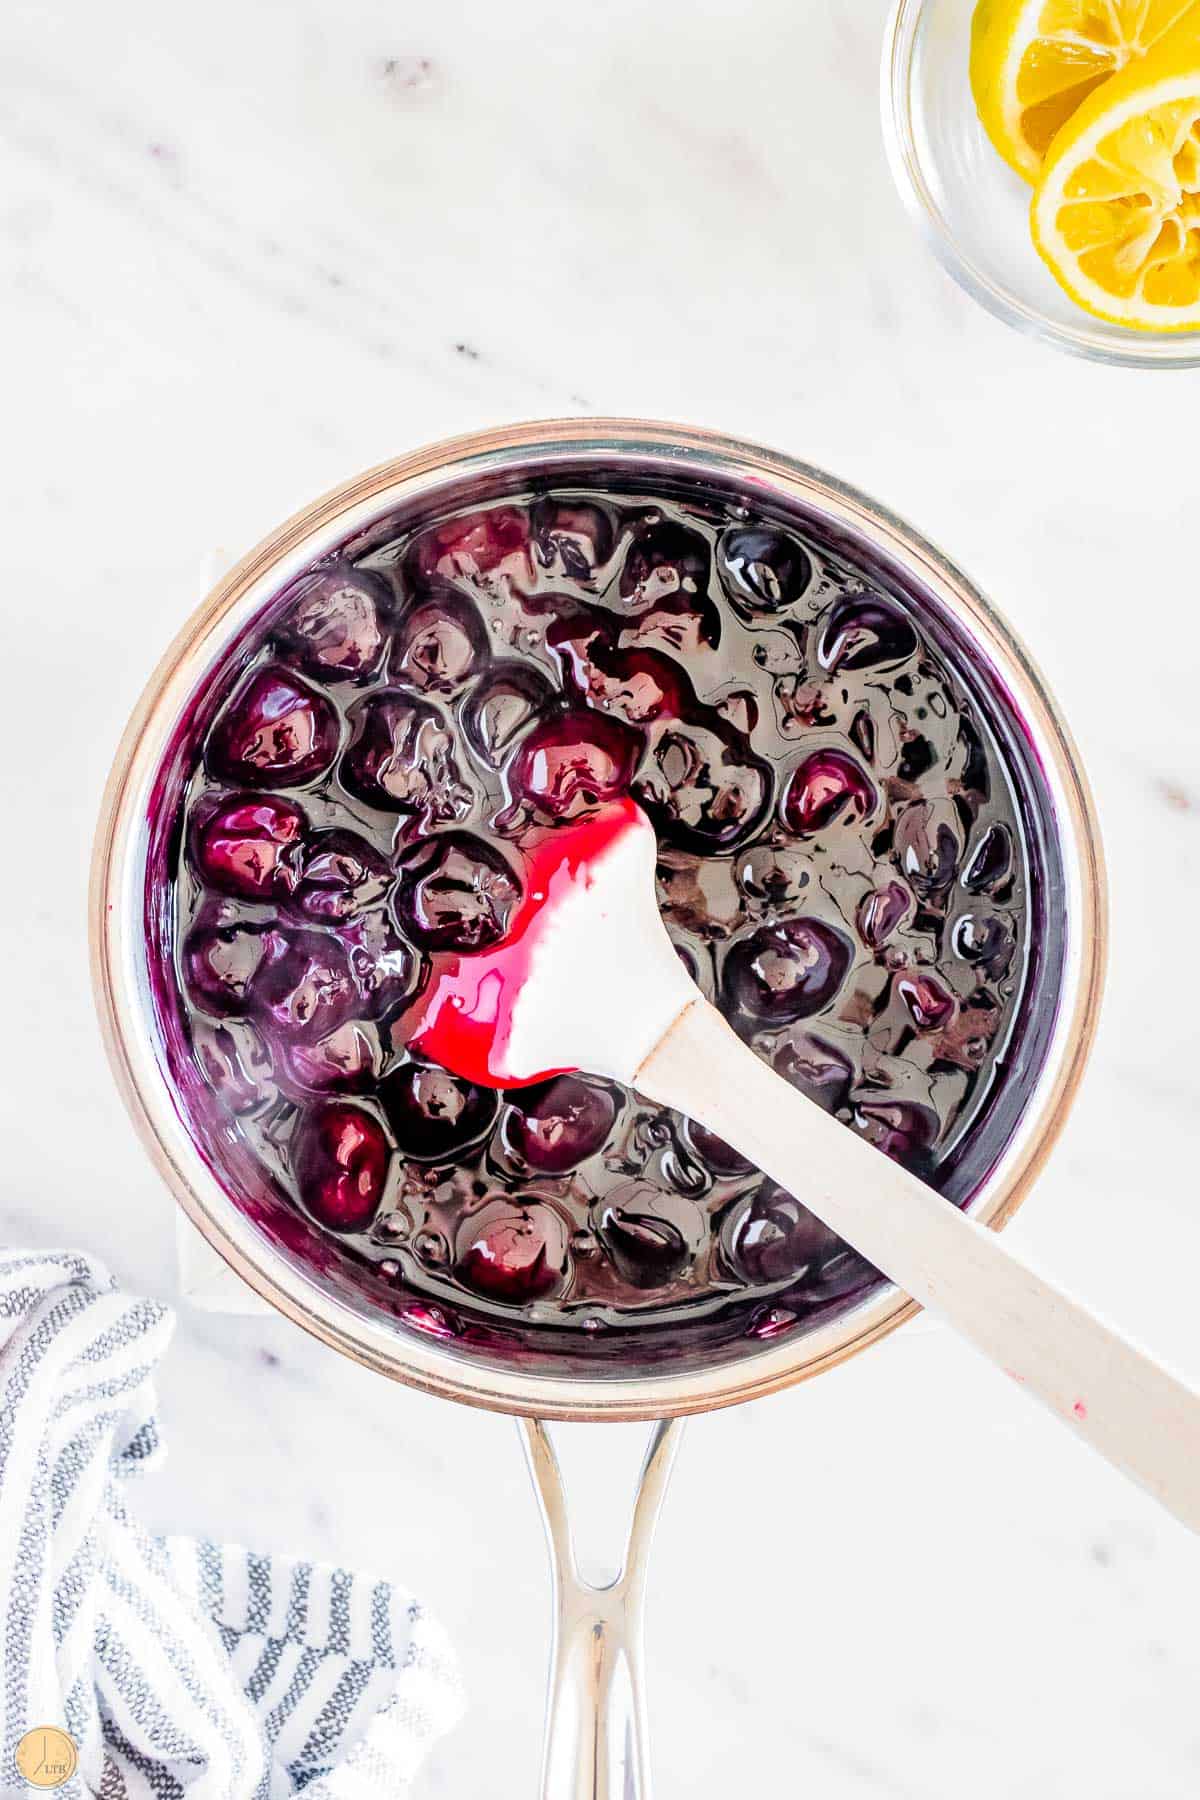
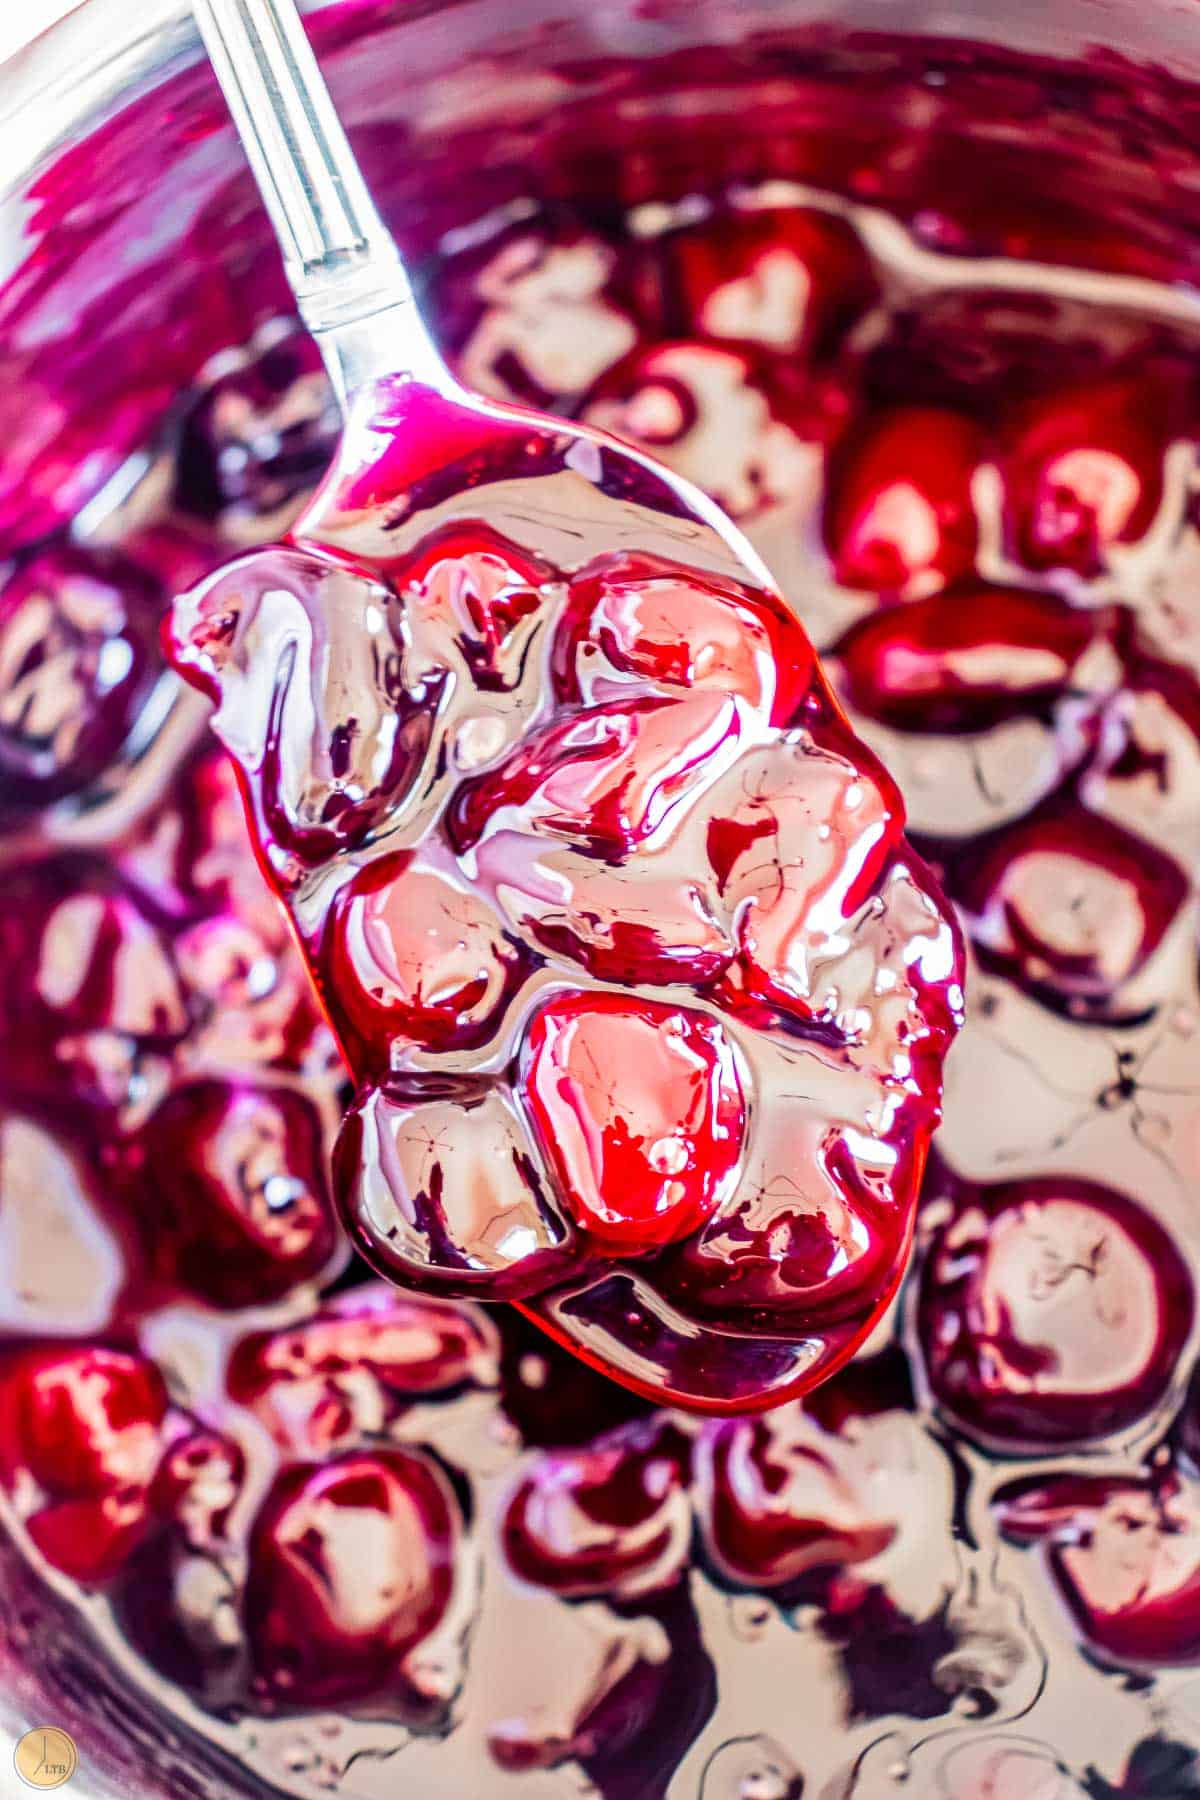
Third: Reduce heat to low and simmer for 8-10 minutes until thickened.
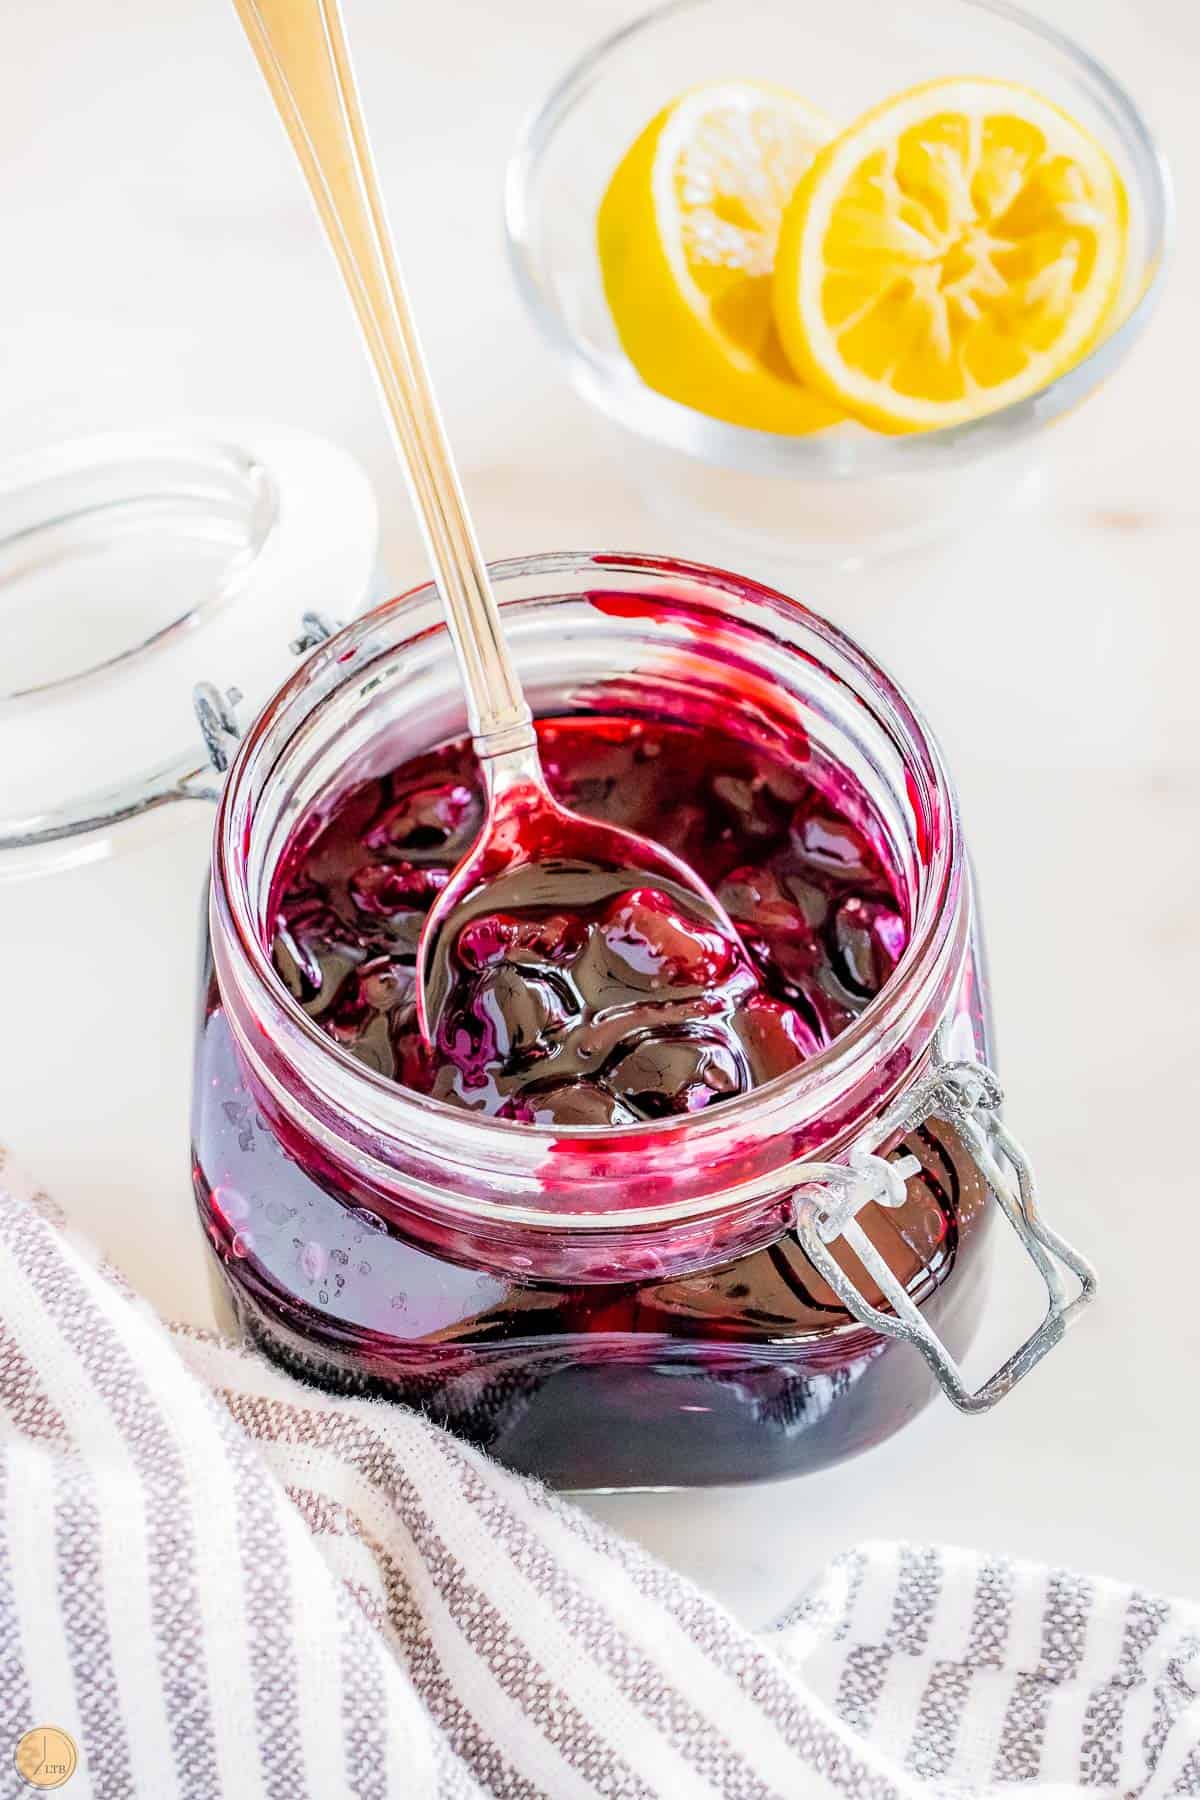
Fourth: Remove from heat. Transfer to a large bowl and cool to room temperature. Store until ready to use.
For the full recipe and detailed instructions, please see the recipe card at the end of this post.
What kind of cherries do you use?
Fresh cherries are the best but they are not always in season. You can get frozen cherries in the store year round. A benefit of using frozen cherries!
The best cherries for baking and of course pies are sour or tart cherries. Varieties of sweet cherries, like Bing or Ranier, are great for eating fresh.
The sour ones are better for desserts because of the sugar the recipe adds to the fruit. If you like a more tart filling, sour cherries are the way to go.
The most common varieties are Early Richmond and English Morello. These are a little harder to find in the store and usually are canned. A little rinse and they are good to go!
If going with fresh, grab a cherry pitter. Makes pitting cherries so much easier!
How long does it last?
Chilled: Homemade fruit pie filling will last for 7 days in the refrigerator in an air tight container.
Frozen: To freeze, cool completely and store in an air tight freezer safe container for up to 6 months. Thaw overnight in the fridge for best results. Note that the texture will be slightly different upon thawing.
Cherry Pie Recipe
- Preheat oven to 425F. Place bottom crust in the pie dish.
- Pour 2 cups of fruit filling in to the pie plate, spreading into an even layer.
- Cover with top crust. Pinch or seal the edges and make a few slits in the top crust. Brush with egg wash. Sprinkle lightly with sugar.
- Bake 40-45 minutes or until the crust is golden brown and the filling is bubbly. Remove and let cool at least 1 hour before slicing.
Uses for Homemade Cherry Pie Filling
Craving that cherry flavor but not in the mood for pie?
- phyllo cup desserts
- cherry pie bars
- ice cream topping
- cherry cobblers
- dump cakes
- pancake topping
- cherry cheesecake
- coffee cake
- turnovers with puff pastry
- cherry hand pies
- toppings for yogurt parfaits
Don’t forget a classic pie dough recipe and an easy cherry pie recipe to use this tasty filling.
Tips for No Leftovers
- I haven’t tried this recipe with brown sugar but it should work just fine.
- Sweeten with honey. To convert, take the amount of sugar and use half of that amount in honey.
- Don’t want to make a crust? Try a store-bought pie crust to save time.
- Make mini cherry pies by cutting crust into smaller circles and bake in a muffin pan.
If you love this recipe as much as I do, please write a five-star review in the comment section below. Thanks!
This cherry pie filling recipe uses just a few ingredients, takes less than 20 minutes, and tastes way better than any store-bought pie fillings. No high fructose corn syrup around!
Cherry Pie Filling from Scratch
Ingredients
- 5 cups cherries pitted
- 1 cup sugar
- 2 tablespoons cornstarch with water to dissolve
- 1 teaspoon vanilla extract
- 1 tablespoon lemon juice
Instructions
- Put cherries and sugar in a pot over medium heat.
- Cook until the juices start to release and the sugar dissolves.
- Add the lemon juice and vanilla.
- Bring to a gentle boil.
- Add just enough water to the cornstarch to dissolve it.
- Add to cherry mixture and stir.
- Reduce heat to low and stir until the cherry pie filling thickens and turns glossy.
- Remove from heat and cool.
- Use in a recipe or store for later.
- Enjoy!
Notes
- I haven't tried this recipe with brown sugar but it should work just fine.
- Sweeten with honey. To convert, take the amount of sugar and use half of that amount in honey.
- Don't want to make a crust? Try a store-bought pie crust to save time.
- Make mini cherry pies by cutting crust into smaller circles and bake in a muffin pan.
Nutrition
{Originally published 05/25/2020 – photos and recipe updated to improve reader experience 02/16/2023}
LeftoversThenBreakfast.com. Content and photographs are copyright protected. Sharing of this recipe is both encourages and appreciated. Copying and/or pasting full recipes to any social media is strictly prohibited.


Easy peesy
Hi! What kind of cherries do you use? If I had access to sour cherries, also called pie cherries, I’d make this in a heart beat. But Bing cherries are the only ones I can get fresh.
I’d love any suggestions you may have.
You can certainly use the fresh Bing cherries if that is all you have. I would add a teaspoon more lemon juice to balance it out. Have you checked the frozen section? When I make this in the winter or when cherries are out of season I use frozen cherries. And check if you can find them in the can. Not a can of pie filling but just whole cherries in the can. I can’t always find them (depends on the store) but when I do I use these and just give them a really good rinse before I use them. I hope this helps. Let me know what you find and we can make it work:)
So easy and so good! I just harvested a lot of cherries from my tree and have made 5 batches!
I am so glad you liked it! You can never have too much cherry pie filling in my opinion:)