Stained Glass Cookies

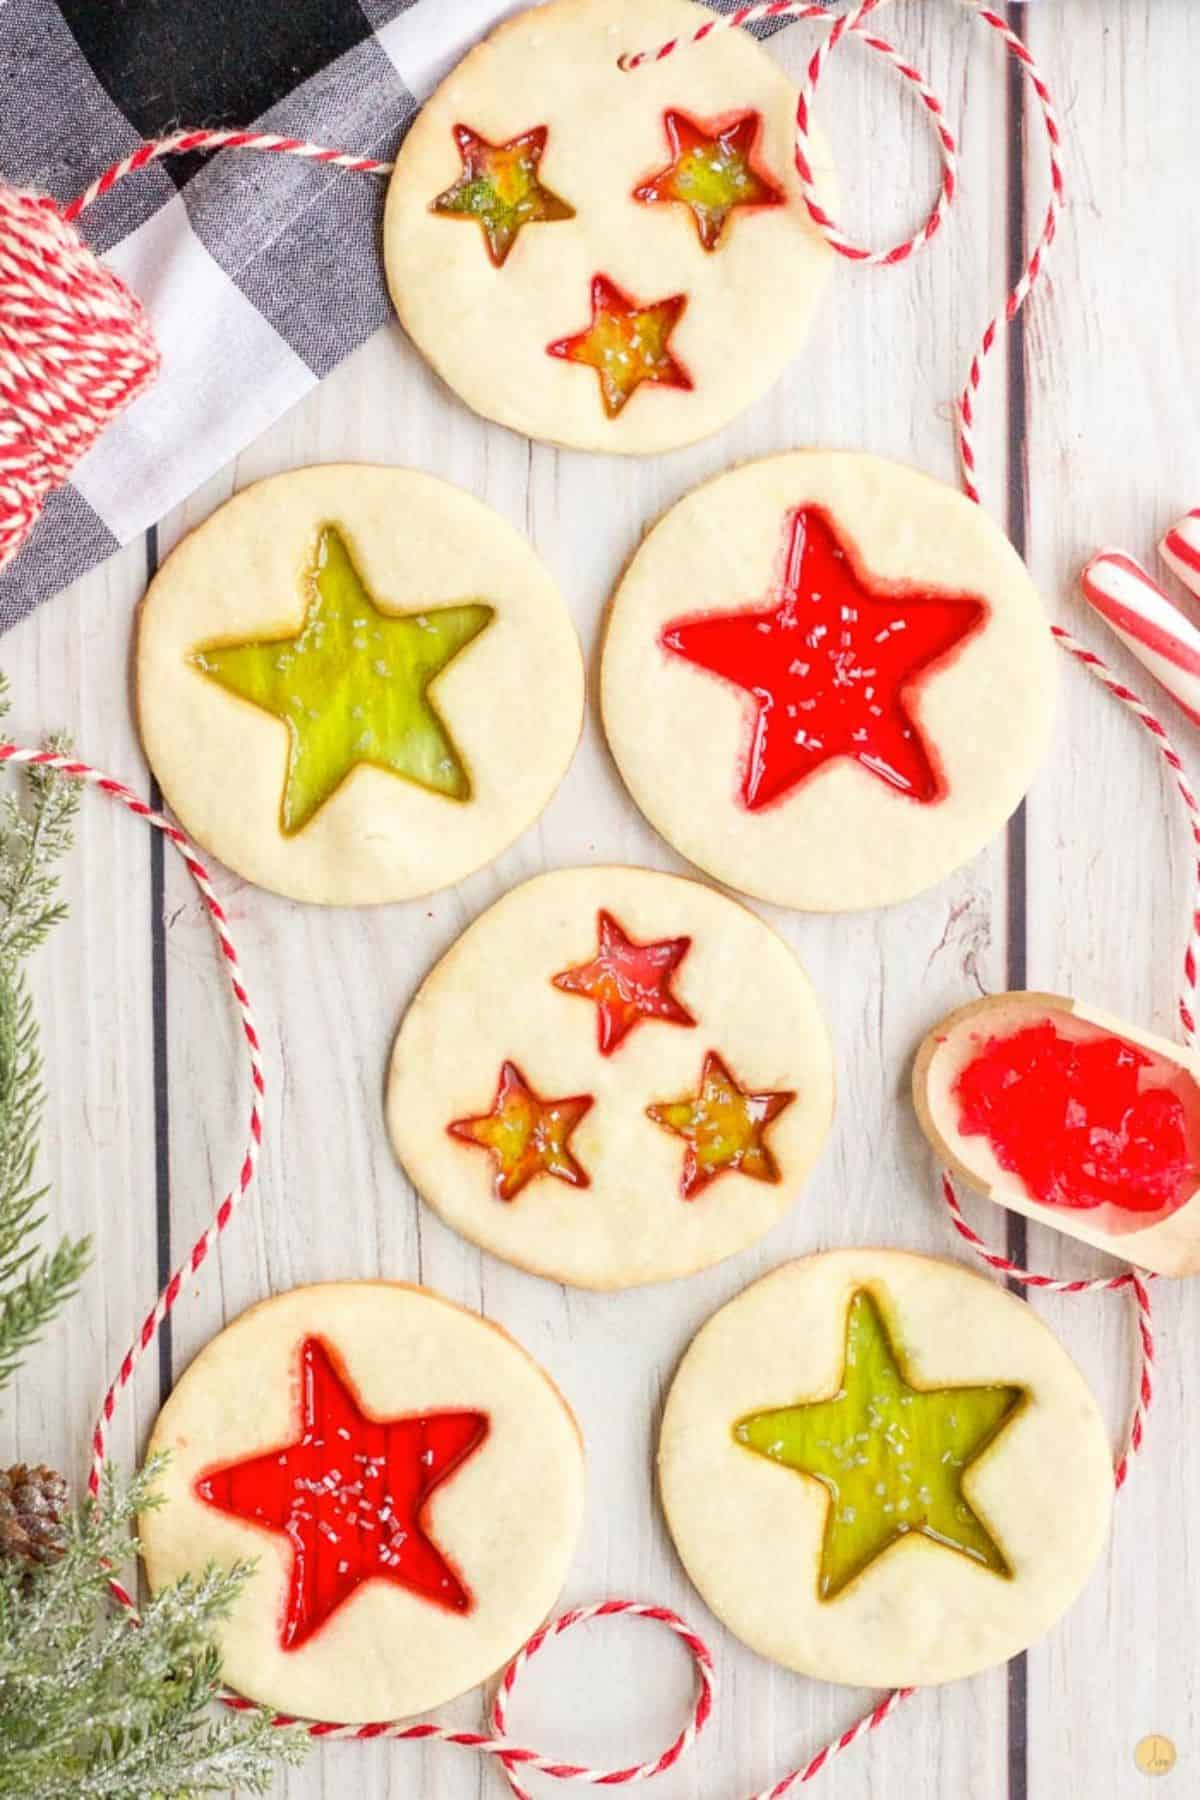
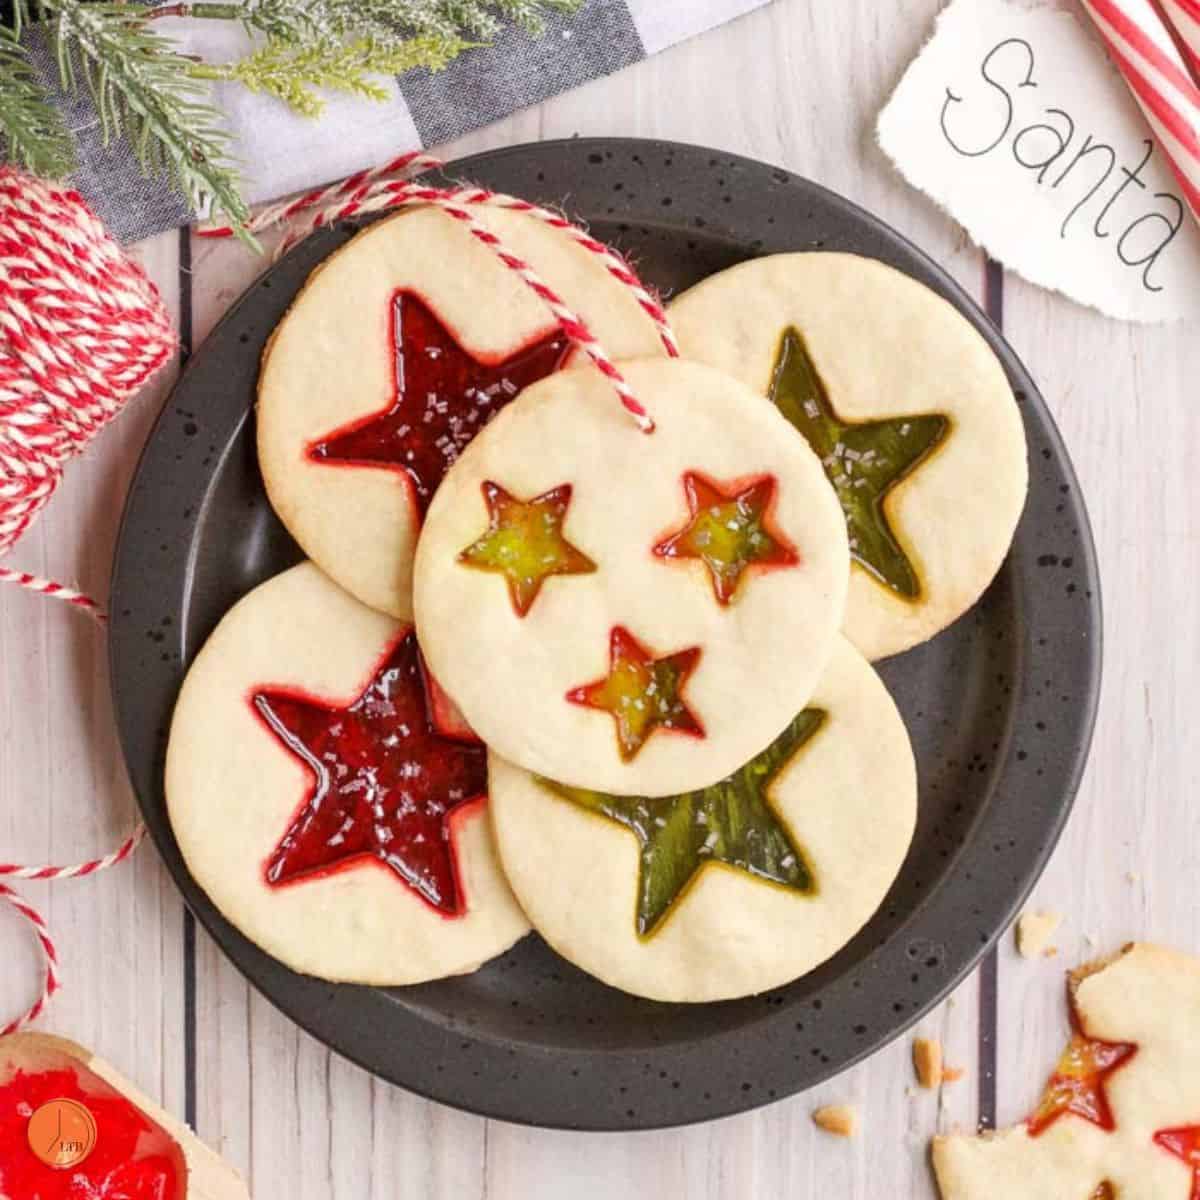
Stained glass cookies are buttery sugar cookies with brightly colored glass centers. Not only delicious but make beautiful and edible holiday ornaments! Make them for friends, family, coworkers, and neighbors.
Stained Glass Christmas Cookies
The holidays are for being with friends and family but they are also for
BAKING!! The older I get the more I realize that I don’t need “things” I just want to spend time with my loved ones. And eat a few thousand cookies.
And, as I’m not one for a single use item, a cookie that can also be used as an ornament or gift tag is even better.
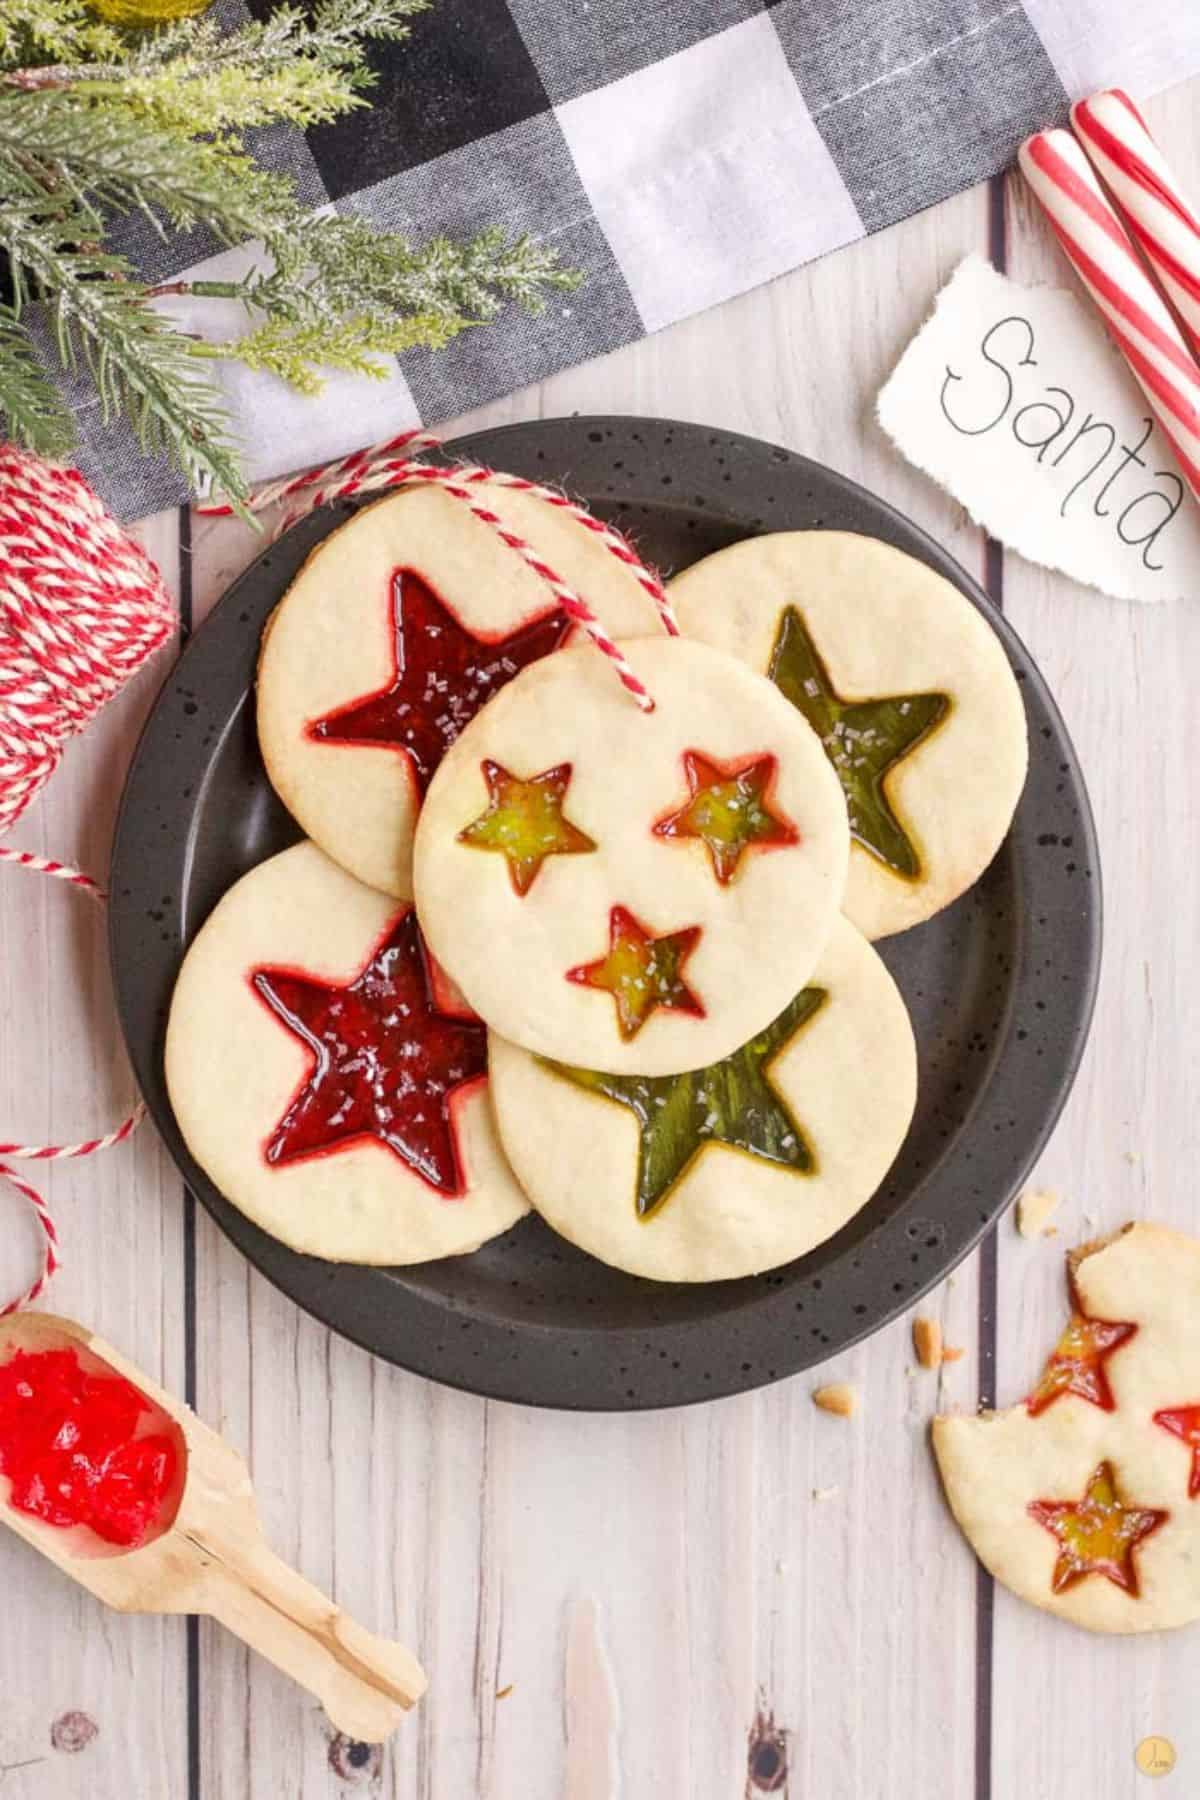
These Stained Glass Cookies are just that. A buttery sugar cookie that doubles as a show-stopping decoration, ornament, gift tag, edible gift, and best of all, dessert.
Think of how impressed Santa will be with these instead of the regular cookies you leave him. You might even get a bigger gift.
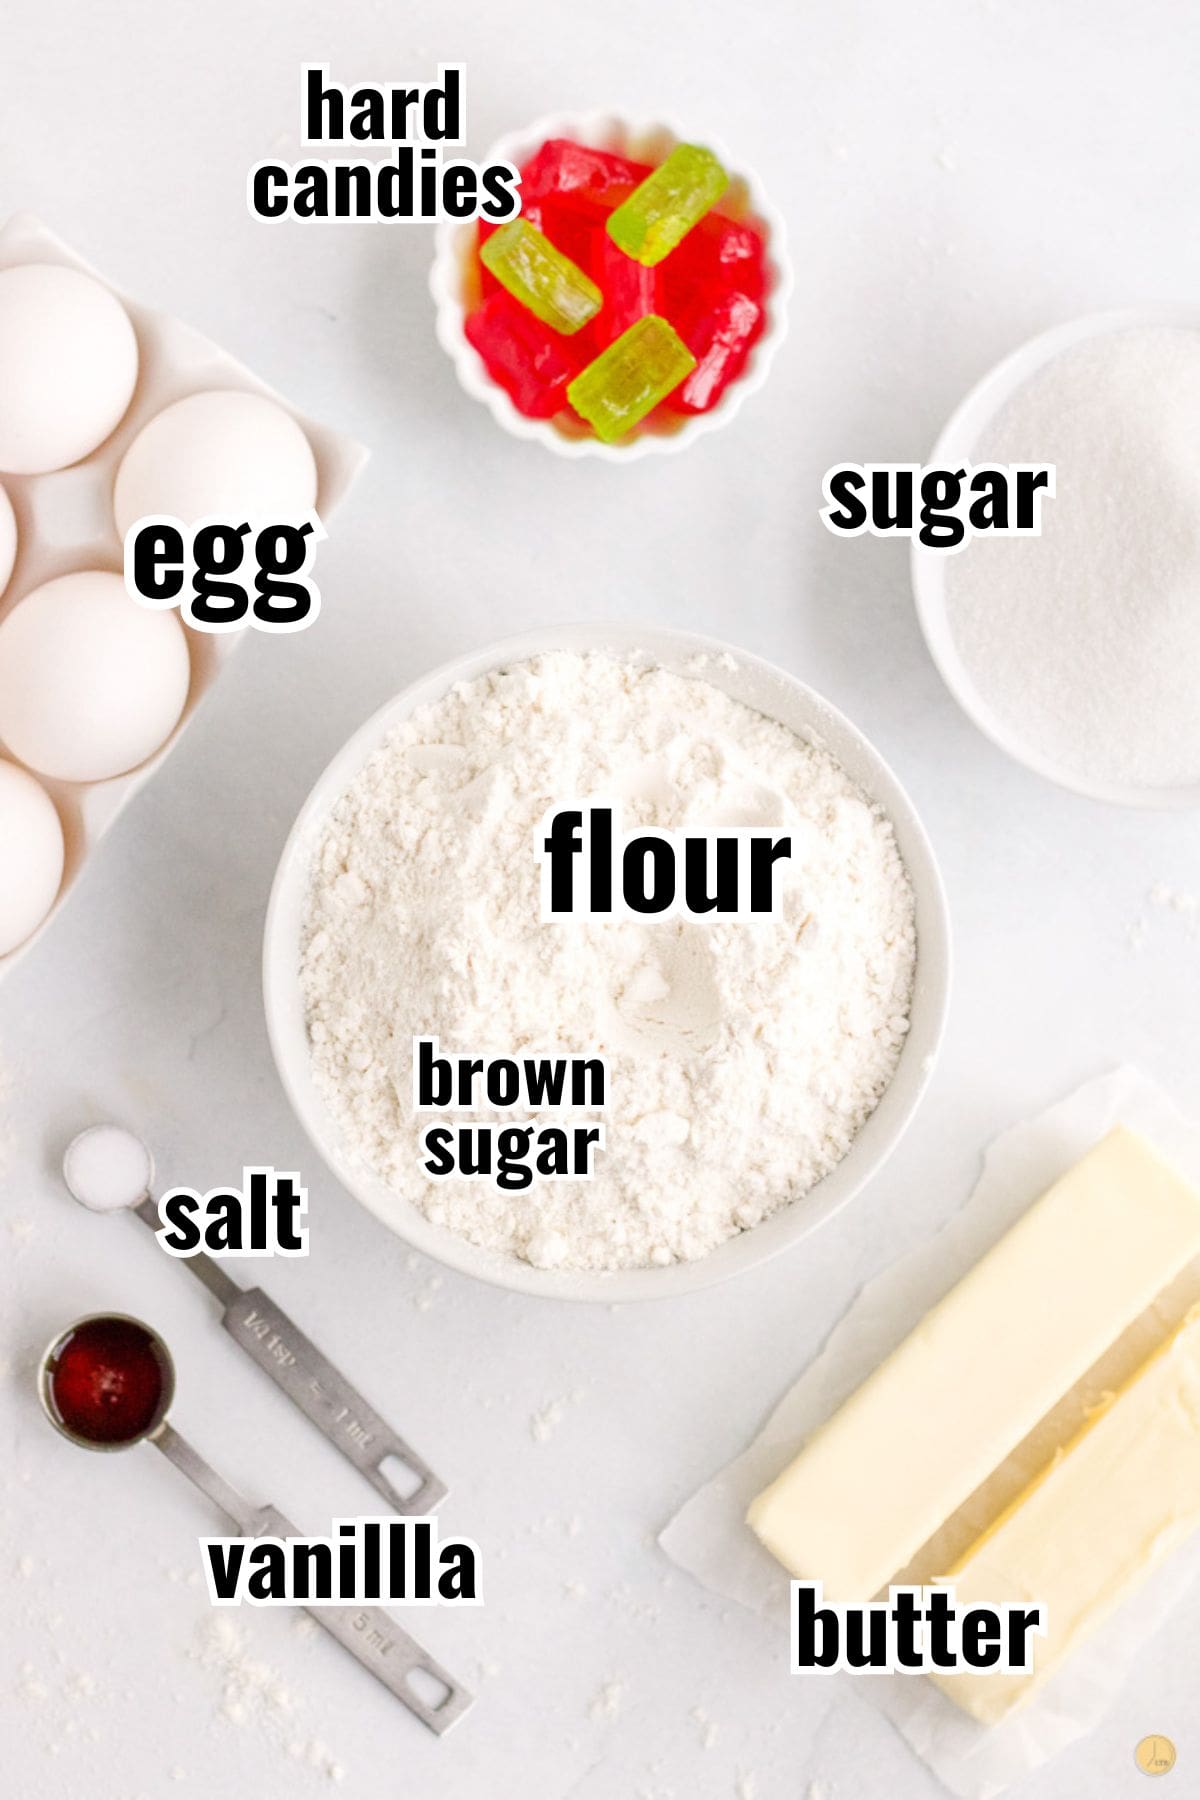
Ingredients Needed
Flour – Use all purpose flour for this recipe. I have not tested it with flour alternatives.
Butter – Always use unsalted butter for best results.
Sugar – White granulated sugar is preferred.
Eggs – This recipe uses large eggs at room temperature.
Vanilla – Vanilla extract is standard but you can also use almond or peppermint extract.
Salt – Use kosher or sea salt.
You can also use store bought sugar cookie dough in a pinch!
Looking for more leftover worthy dishes? Follow LTB on Pinterest and pin to a board!
How to Make Stained Glass Window Cookies
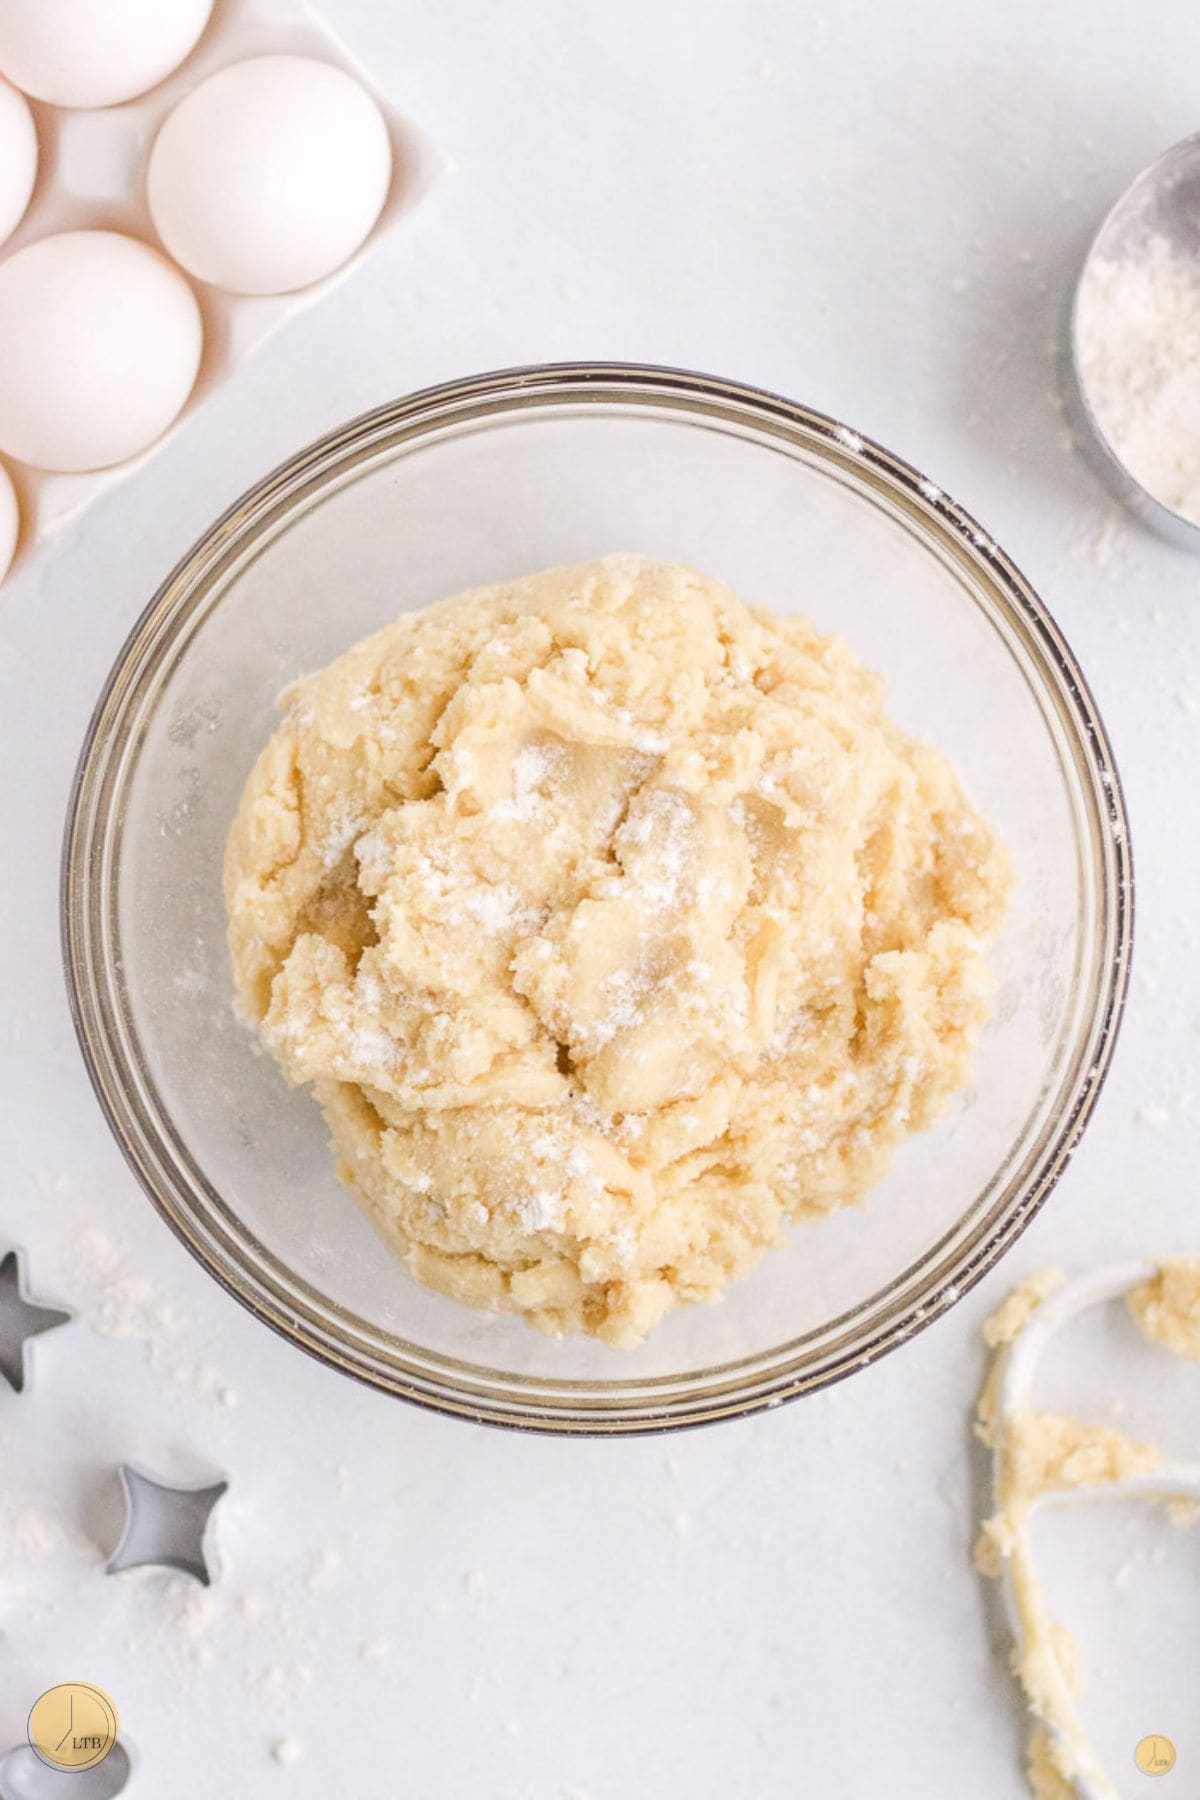
First: In a large bowl, cream together the butter and sugar with an hand or stand mixer on medium speed. Add the eggs, vanilla and salt and continue mixing until completely combined.
Second: Slowly add the flour, mixing just until combined. Cover the dough with plastic wrap and place in the refrigerator for one hour. While the dough is chilling, preheat the oven to 350 degrees and line a baking sheet with parchment paper.
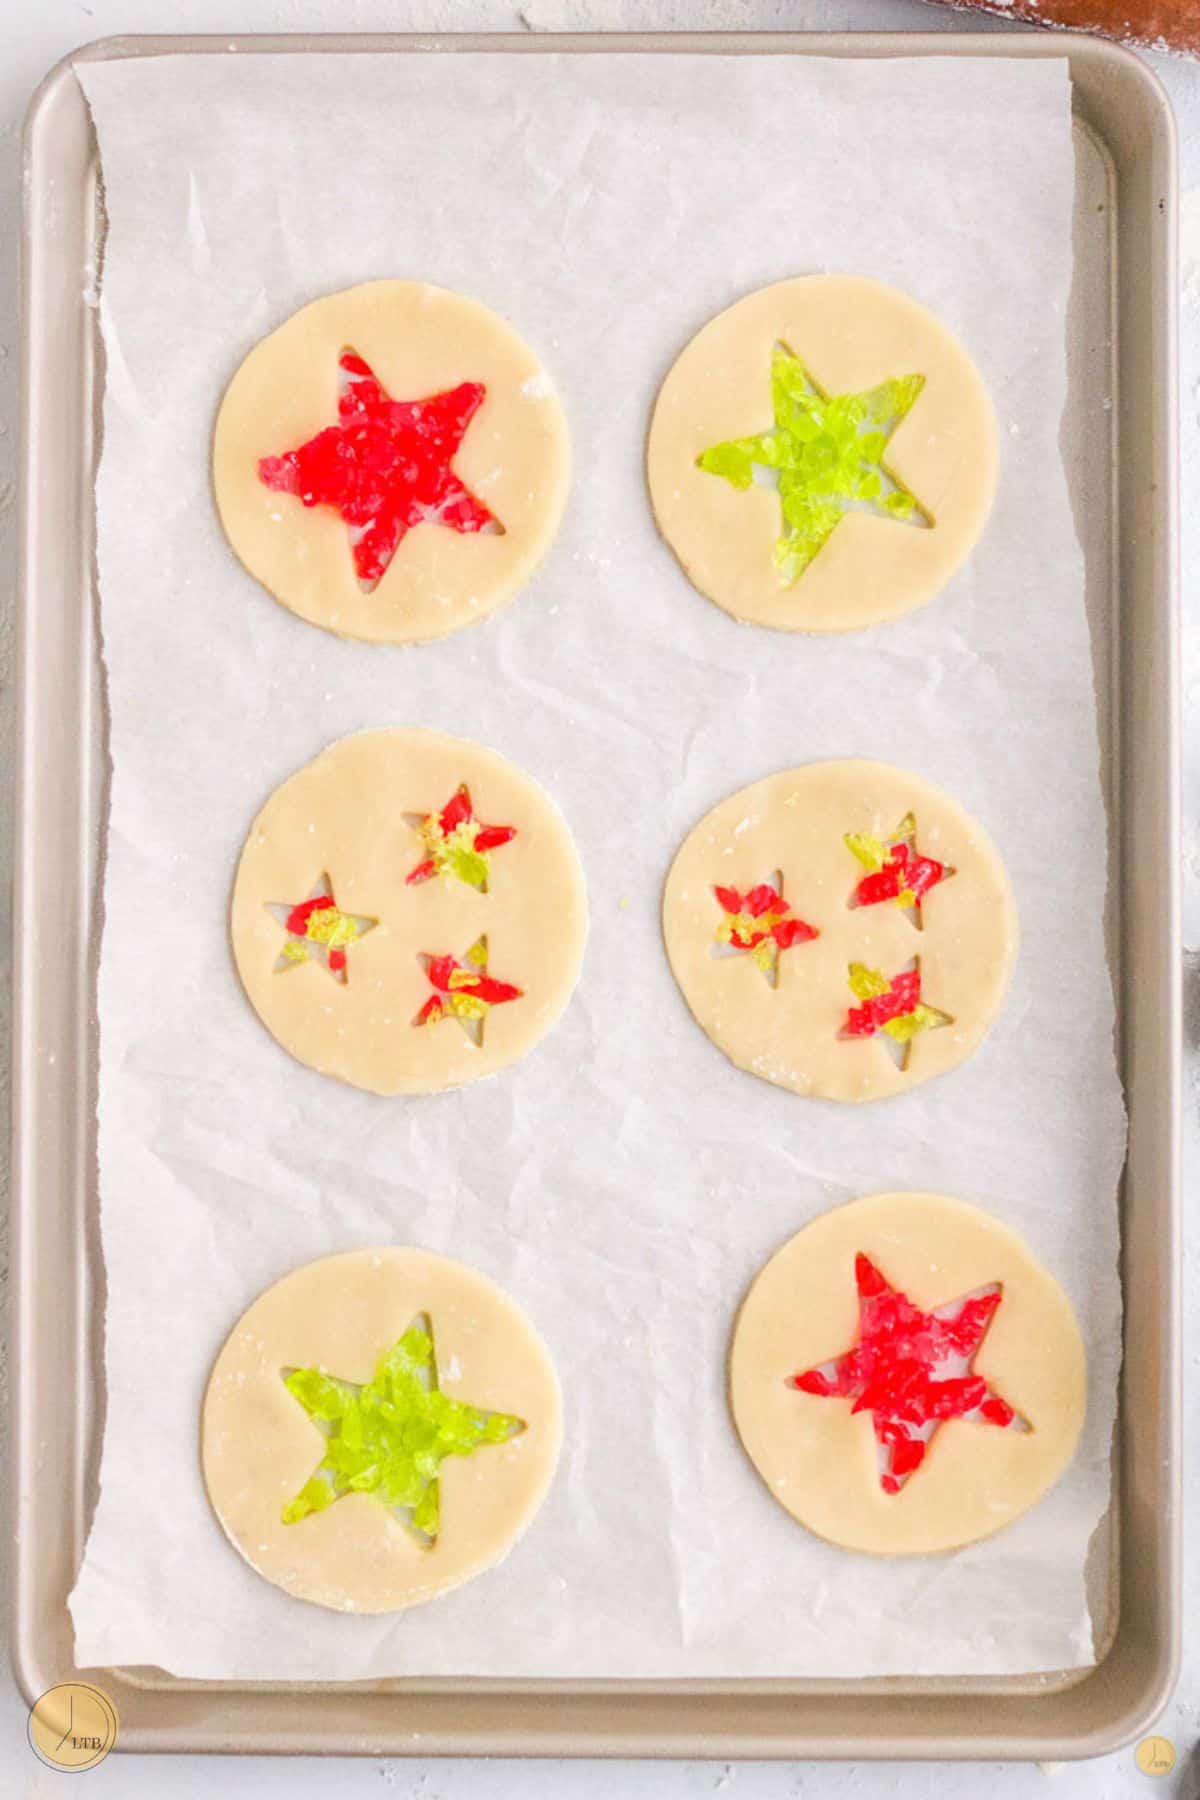
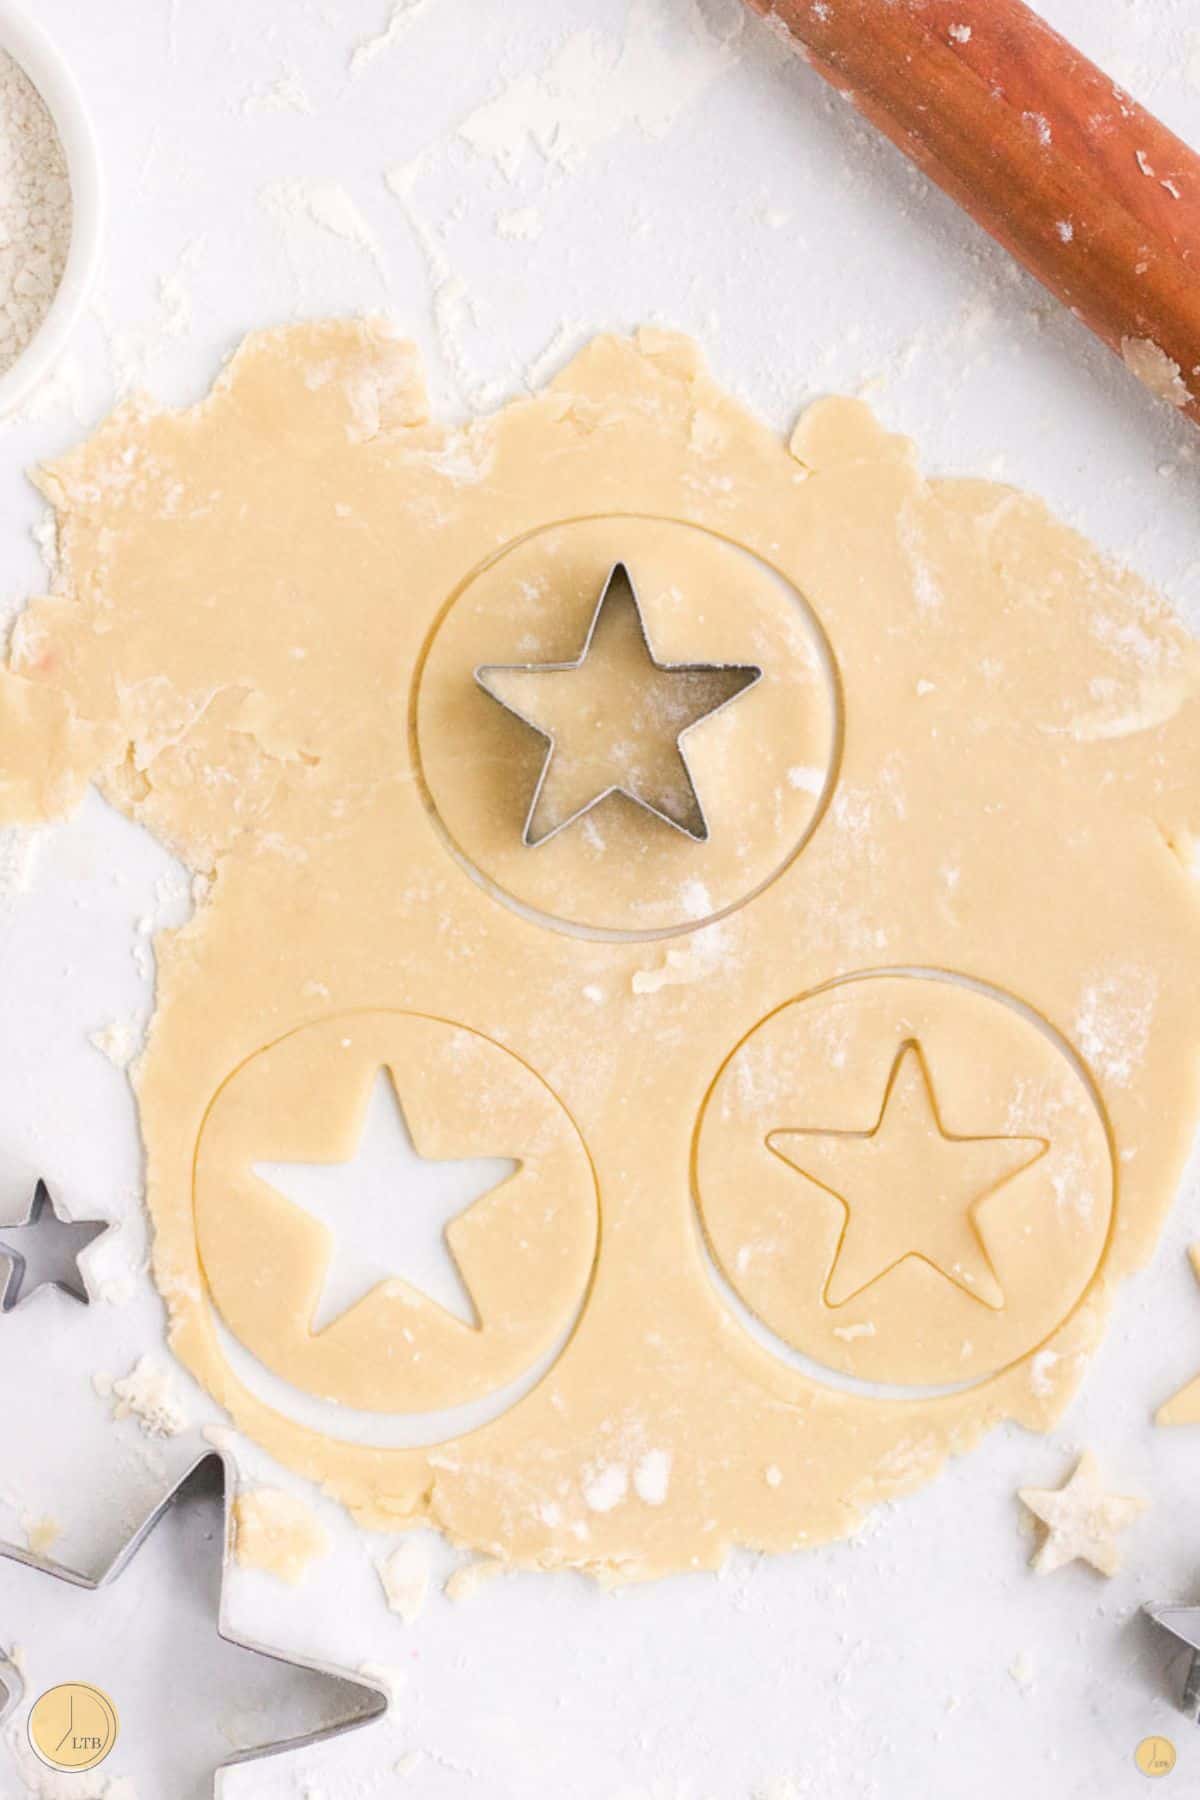
Third: Remove from the refrigerator and roll out the dough on a floured surface until about a half of an inch thick. Cut into shapes, being sure to cut out hollow areas to place candy. Place cookies on the baking sheet.
Fourth: Unwrap the hard candies and place into a plastic bag. Crush into small pieces. Place the candy in the hollowed out areas.
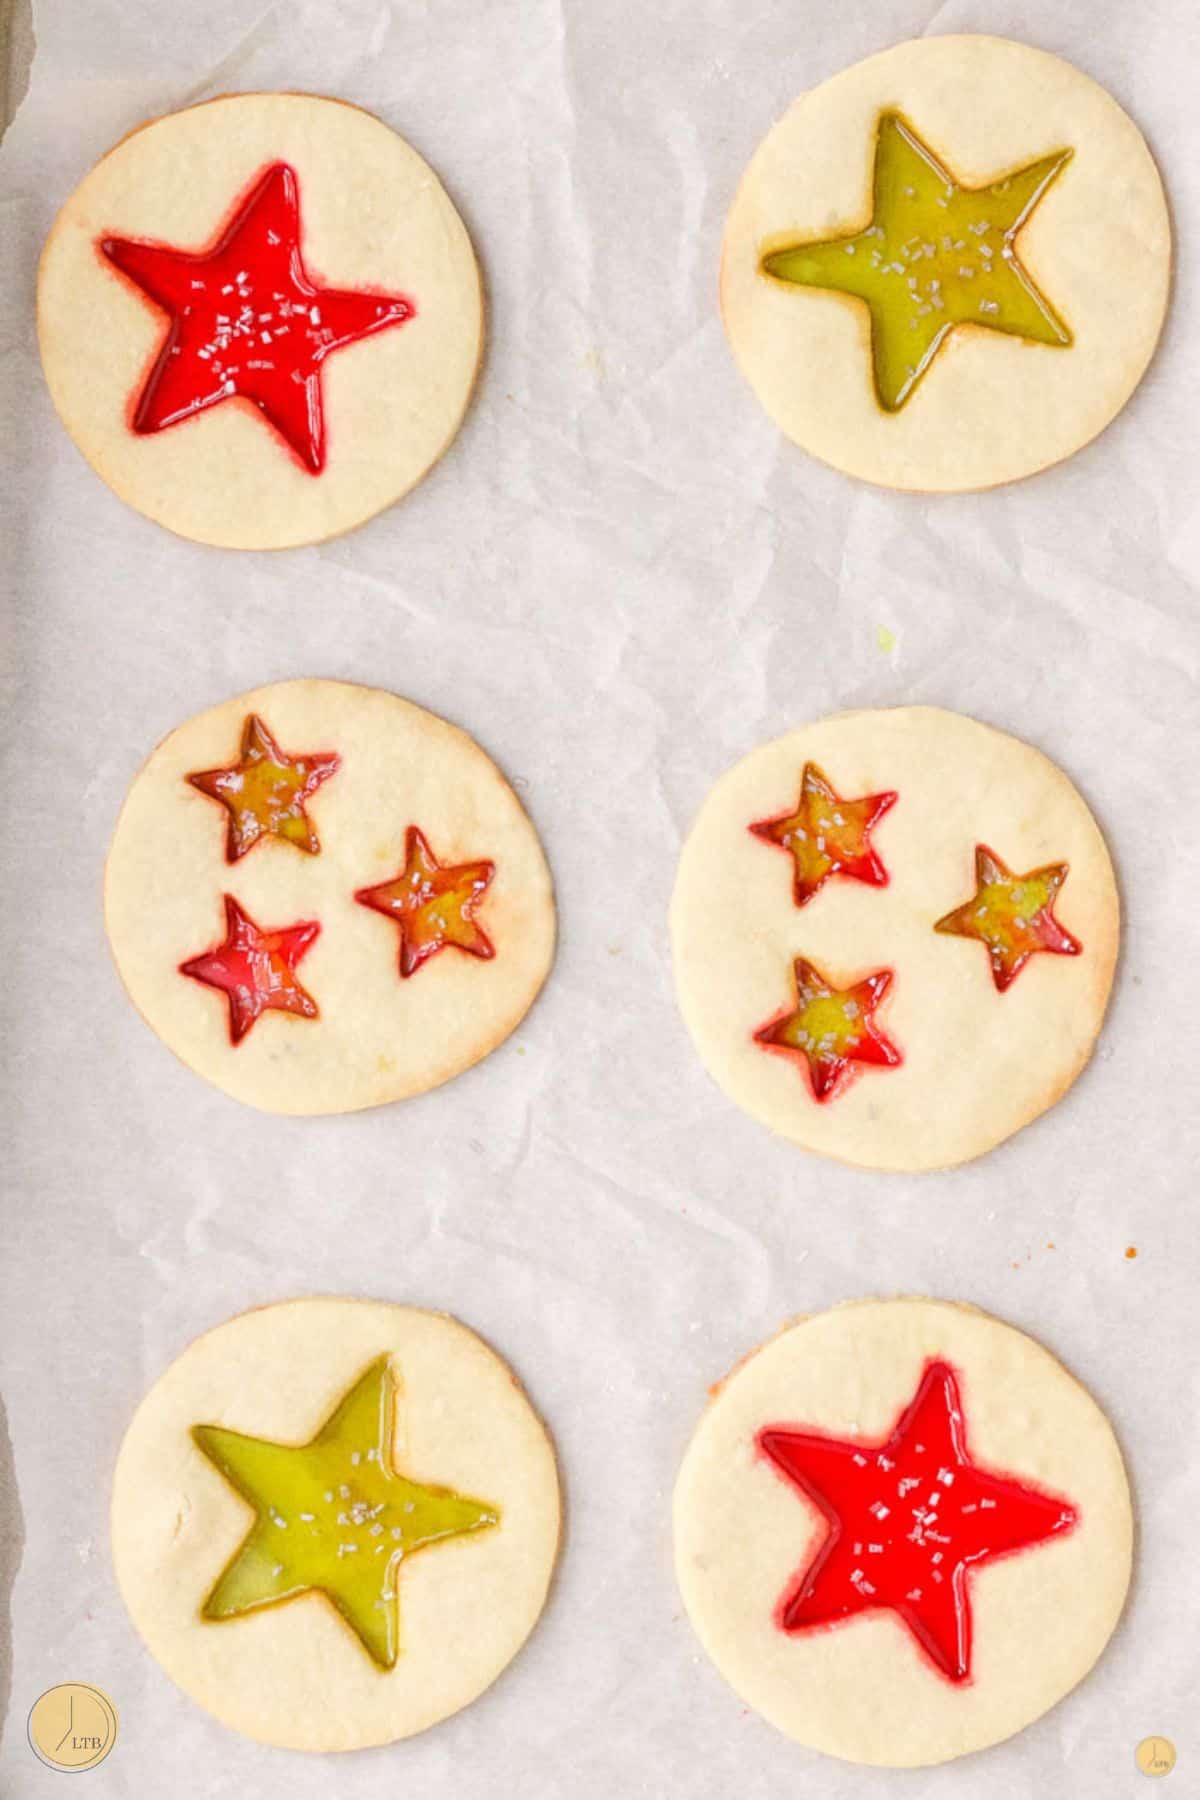
Fifth: Bake for 10-12 minutes or until the cookies are set and the candy centers are melted. Cool cookies completely before removing from the baking sheet.
For the full recipe and detailed instructions, please see the recipe card at the end of this post.
How long do they last?
They will last at 7 days, in an airtight container, at room temperature. If you want to keep them longer, you can refrigerate them.
Just be sure to place a piece of wax paper or parchment paper between the cookies. And when you remove them from the fridge the candy center might be slightly tacky but will dry out the longer it is at room temperature.
Best Tools To Use
- Parchment Paper
- Silicone Baking Mats
- Rolling Pin or Meat Mallet
- Baking Sheets
- Cookie Cutters
Can I use different shapes?
I love circles with stars in them but feel free to use your favorite shapes and cutters. Just be sure to leave enough of the cookie dough in place to hold them together.
Using a few smaller shapes is good for making sure you use all the dough and not throwing away too many scraps.
Best Candy To Use
Jolly Ranchers are the best but feel free to use other hard candies. Just try to stick to the clear ones. Hard candies like peppermint and butterscotch candies come out dull after you bake them.
Make sure you get the candy crushed into the smallest pieces possible. The closer they are in powder form, the easier and faster they will melt. This keep the cookies from burning too.
Tips for No Leftovers
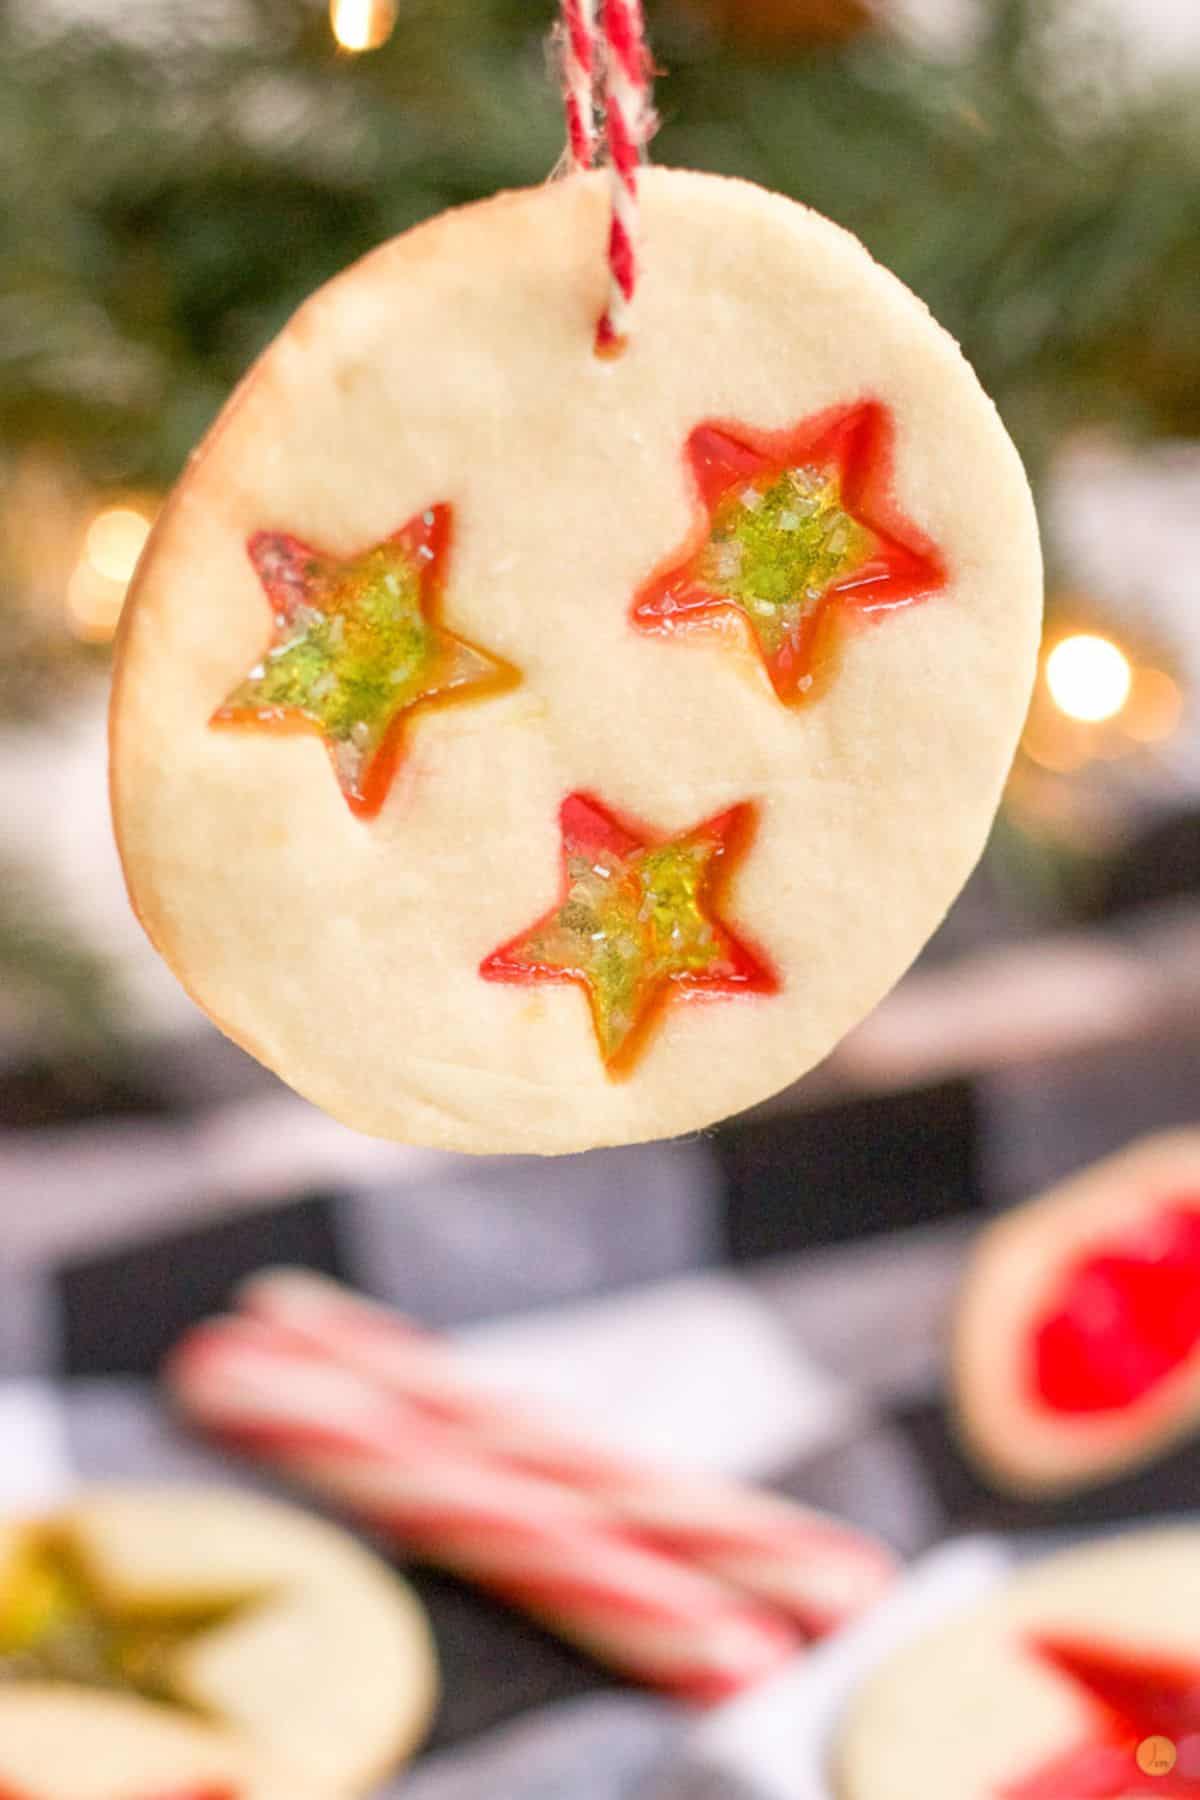
- If you want to hang your cookies, make sure to poke the hole before you bake the cookies or you might break them trying to cut one after they are cooked. A straw works best for larger holes.
- I love the flavor of Jolly Ranchers but you can use any clear hard candy such as life savers, lolly pops, or sanding sugar.
- Use a brush to remove any crushed candy on the cookies before baking.
- Make sure you keep the crushed Jolly Ranchers separated to keep the colors clean.
- Use smaller cookie cutters to cut the insides of the shapes out.
- Make sure the cookie dough is nice a chilled so they don’t lose their shape and distort the candy. Roll them to equal thickness.
- Only bake until they just start to brown. Too much longer and the melted candy will caramelize or burn.
- If there are bubbles in the candy when you pull the cookies out, immediately, but gently, pop them with a small pin.
- Leave the cookies on the cookie sheet to cool completely. If you move them too soon they will tear and the candy will stick as it will still be soft.
- If it’s humid outside, the candy might be a little tacky or take a while to completely harden. Be sure to keep an eye on the weather.
If you love this recipe as much as I do, please write a five-star review in the comment section below. Thanks!
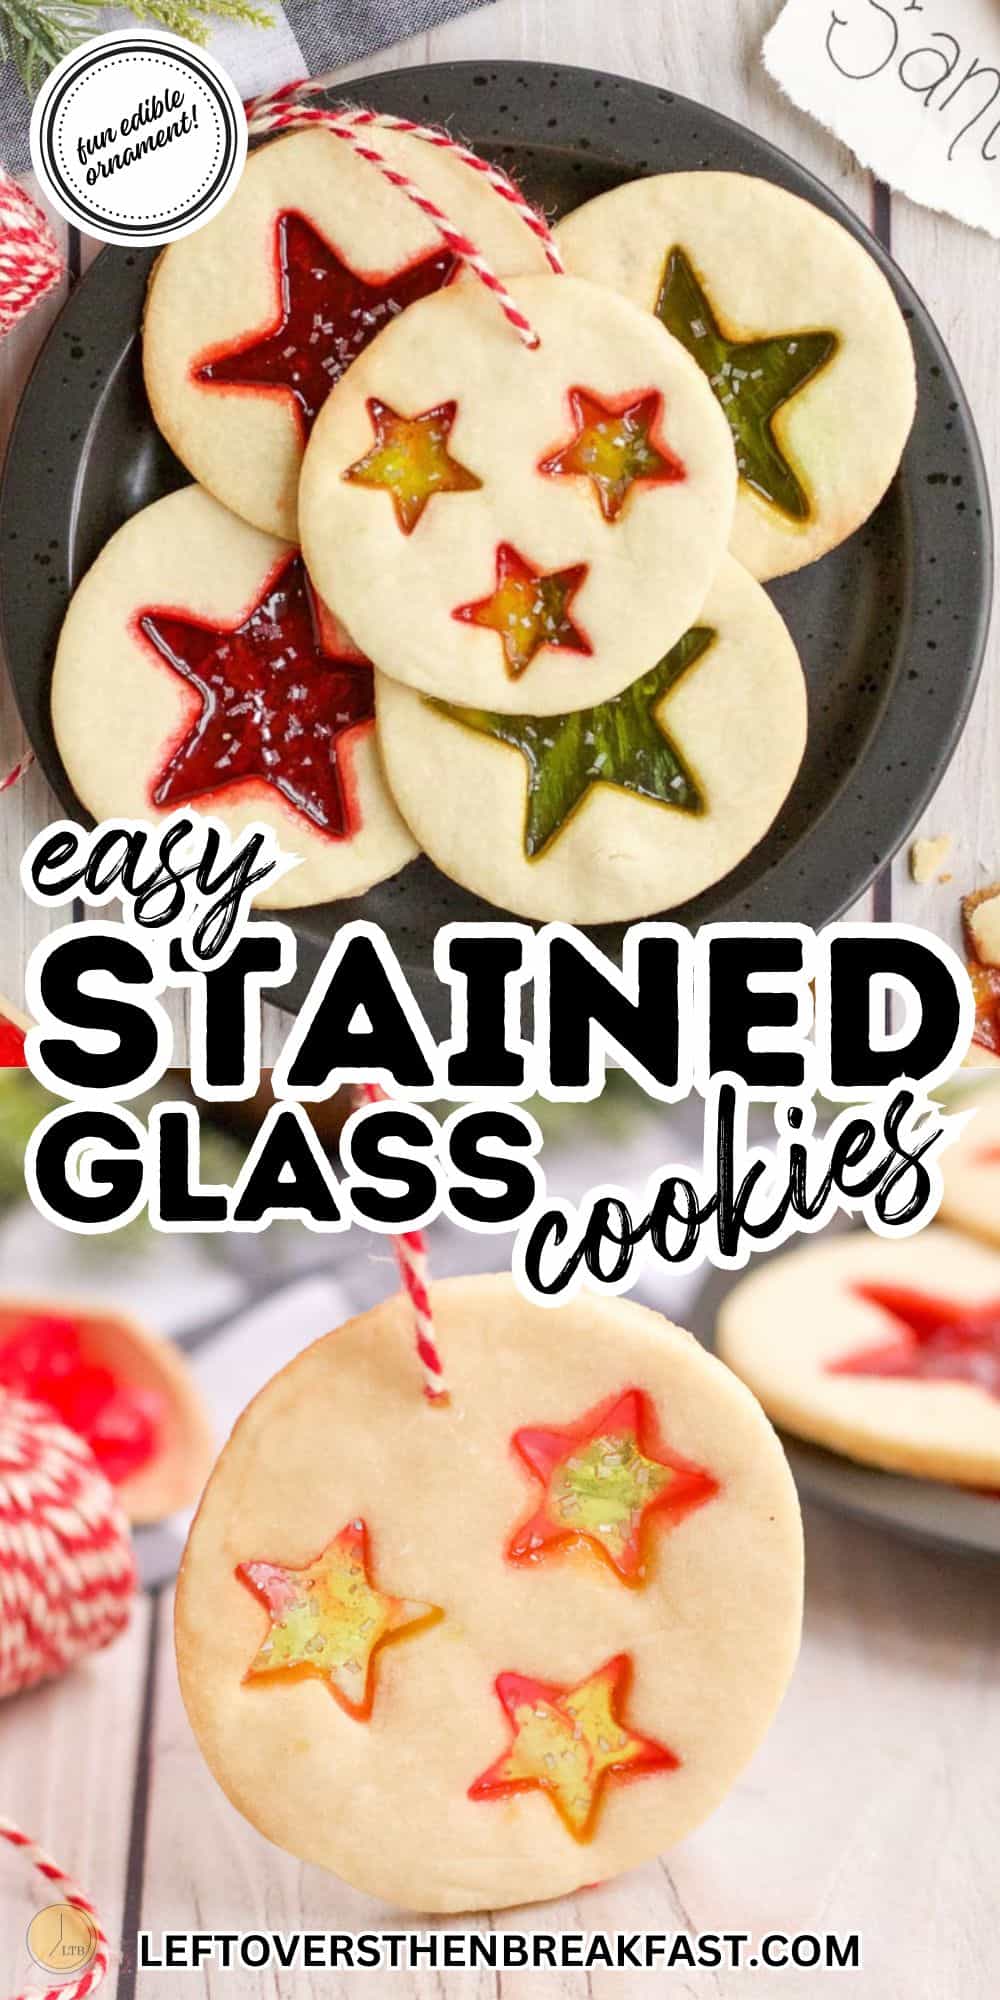
This stained glass cookie recipe makes a gorgeous cookie, perfect for your cookie trays and exchanges. Save a few for decorating the Christmas tree or hang in your windows!
Stained Glass Cookies
Ingredients
- 1 cup unsalted butter softened
- 1 cup granulated sugar
- 1/2 teaspoon salt
- 2 large eggs room temperature
- 1 1/2 teaspoons vanilla extract
- 3 1/2 cups all-purpose flour divided
- 24 clear hard candies in desired colors
Instructions
- In a large bowl, cream together the butter and sugar with an hand or stand mixer on medium speed.
- Add the eggs, vanilla and salt and continue blending until thoroughly combined.
- Slowly add the flour, mixing just until combined. Cover the dough and place in the refrigerator for one hour.
- While the dough is chilling, preheat the oven to 350 degrees and line a baking sheet with parchment paper.
- Remove dough from the refrigerator and roll out onto a floured surface about a half of an inch thick. Cut into shapes, being sure to cut out hollow areas to place candy. Place shapes onto a baking sheet lined with parchment paper.
- Unwrap the hard candies and place into a plastic bag. Crush into small pieces. Place the candy in the hollowed out areas.
- Bake for 10-12 minutes or until the cookies are set and the candy centers are melted.
- Cool cookies completely before removing from the baking sheet.
Notes
- If you want to hang your cookies, make sure to poke the hole before you bake the cookies or you might break them trying to cut one after they are cooked. A straw works best for larger holes.
- I love the flavor of Jolly Ranchers but you can use any clear hard candy like life savers, lolly pops, or sanding sugar. Use a brush to remove any crushed candy on the cookies before baking. Make sure you keep the crushed Jolly Ranchers separated to keep the colors clean.
- Make sure the cookie dough is nice a chilled so they don't lose their shape and distort the candy. Roll them to equal thickness. I use this rolling pin because it has spacers.
- Only bake until they just start to brown. Too much longer and the candy will caramelize or burn. If there are bubbles in the candy when you pull the cookies out, immediately, but gently, pop them with a small pin.
- Leave the cookies on the parchment paper or silicone mat to cool completely. If you move them too soon they will tear and the candy will stick as it will still be soft.
Nutrition
LeftoversThenBreakfast.com. Content and photographs are copyright protected. Sharing of this recipe is both encourages and appreciated. Copying and/or pasting full recipes to any social media is strictly prohibited.